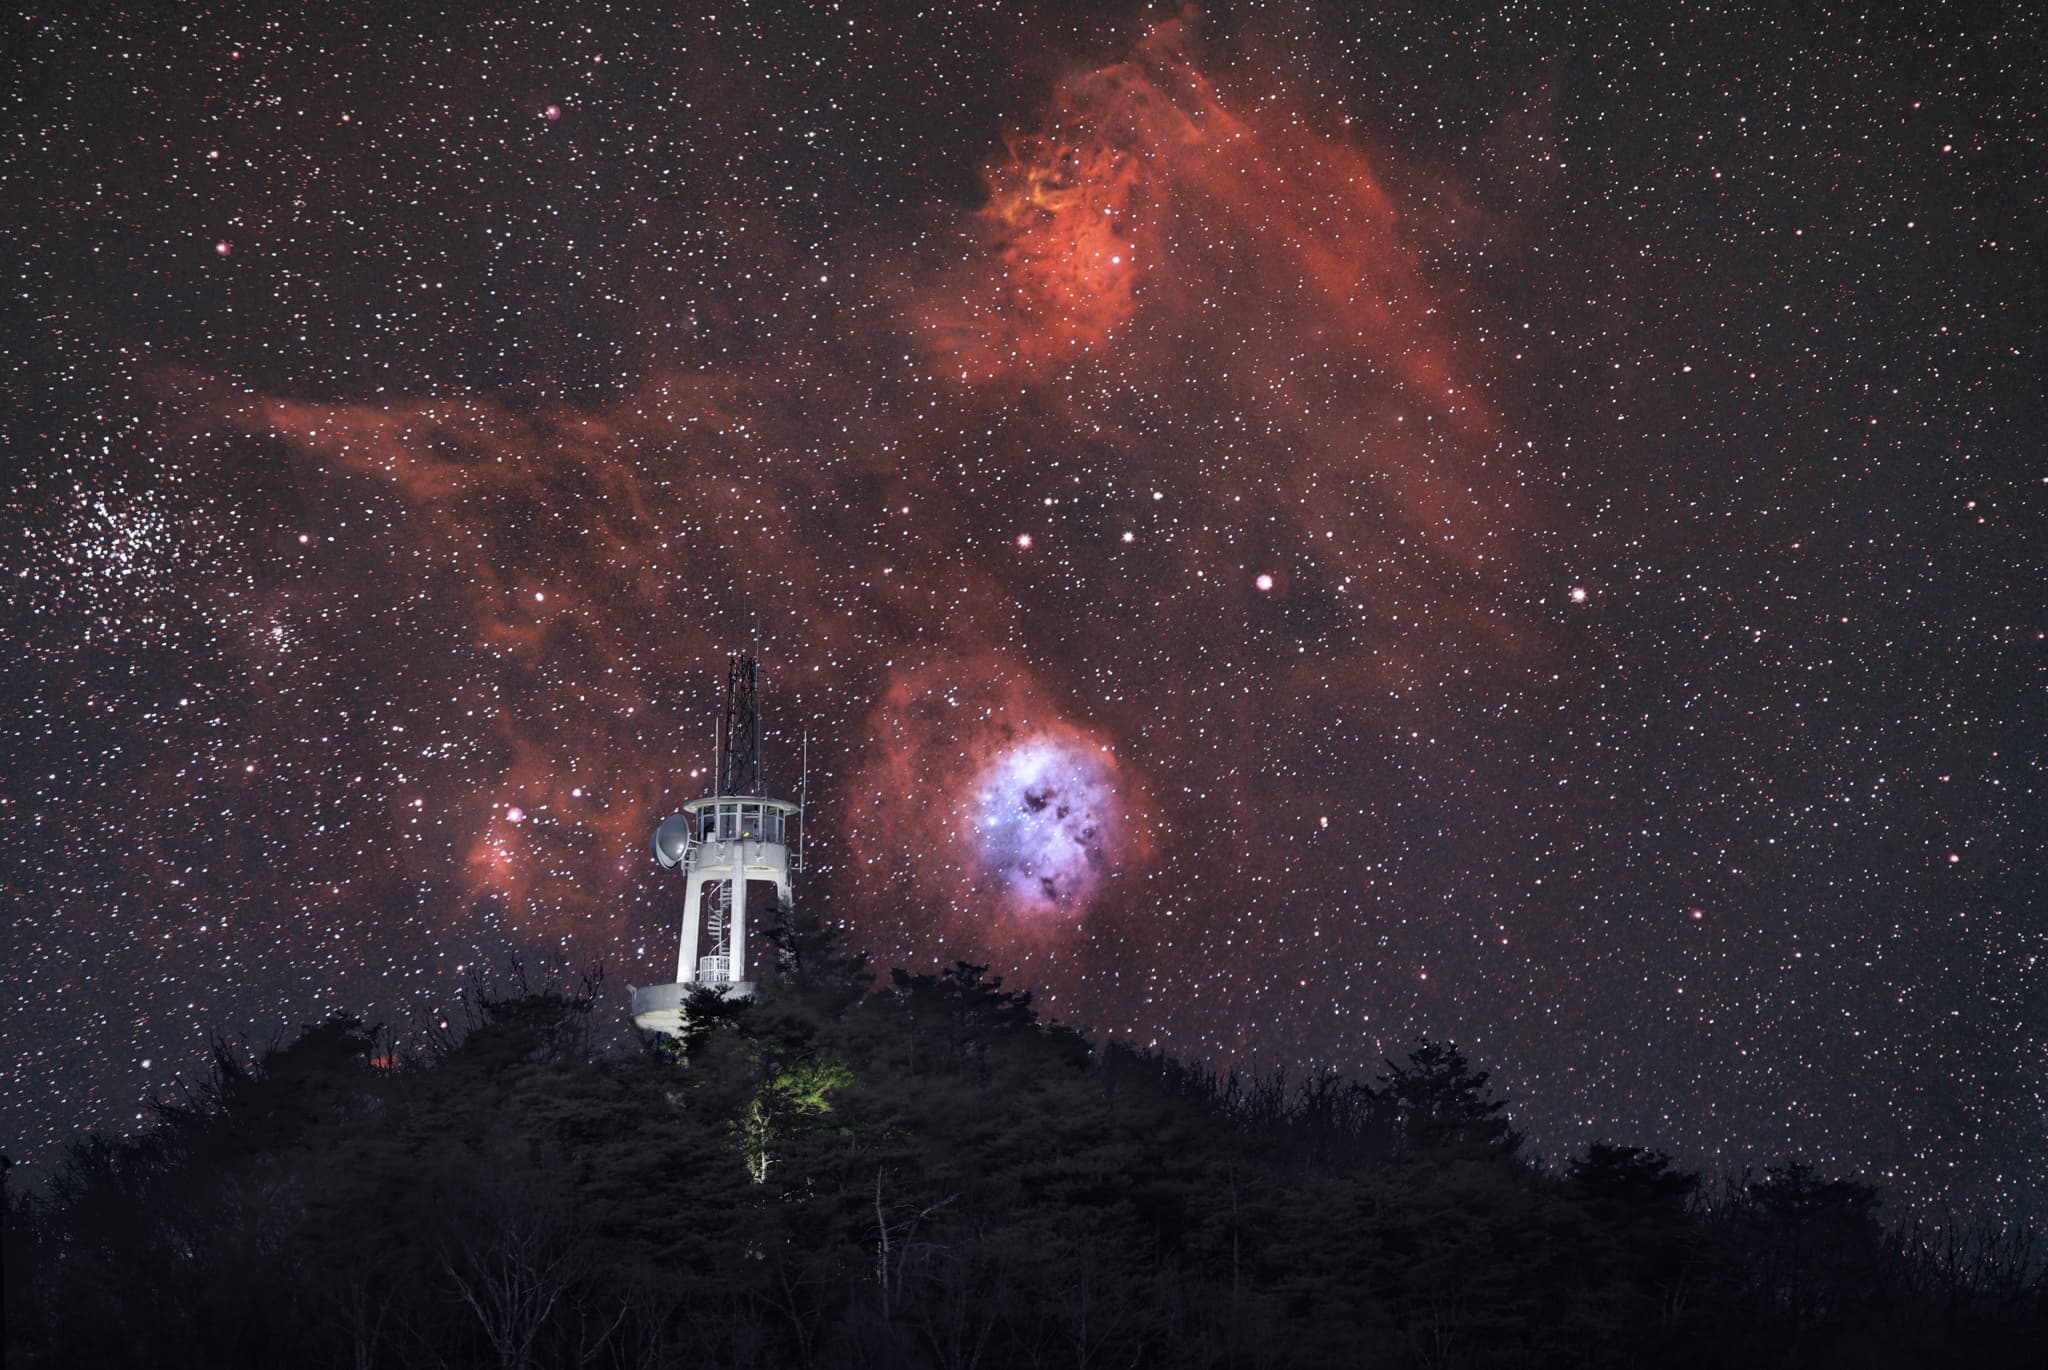

Hello from snowy East Tennessee! Ha! It’s the third week of March, Spring Break for the area schools, and we got about 4 inches of snow Friday night into Saturday. Now that our skies are clearing up, the snow is rapidly disappearing, but it was pretty while it lasted! Anyway, this week’s Picture of the Week actually has nothing to do with snow, but rather we’re back to the night sky with the conclusion to my deep space, skyscape image series. This week’s image features the Flaming Star nebula, the Tadpole Nebula, and the M38 star cluster, along side the Look Rock fire tower and observation deck, and is my most ambitious of the series – I think anyway. Let’s dive in.
As promised, this week I’ll talk about how I made these images, but before I get into the technical aspects of it, let’s talk about what you’re seeing. The top-most structure is the Flaming Star nebula (the coma-shaped one), and directly below it is the Tadpole nebula. The grouping of stars to the left is the Messier 38 star cluster. The nebulae are believed to be 12,000 light years away from Earth, meaning the light I’ve gathered here left its source around 10,000 BC. Crazy right? Now above I mentioned that this is, in my opinion, the most ambitious of the series, so let’s talk about why that is.
For this series, I really wanted to illustrate the scale of these deep space objects by showing them next to terrestrial objects. As I got into though, I realized that I needed a man-made object as well, because unless you were standing next to me when I captured the images, you’d really still have no idea how big the mountain was or how far away it was from my view point. By including a man-made object, the viewer can at least have some frame of reference. The problem of course is that there aren’t that many man-made objects in the mountains where the sky is dark, especially that you can get far enough away from to take pictures at 300mm and still see plenty of sky. For the other images in the series, I picked the night sky object and then found a viewpoint where I could see it and just went with it. For this scene, however, I found the spot I wanted to shoot from and used night sky apps to work out what objects would rise behind it from my view point. I just lucked out that everything lined up so well! Thank goodness for these apps!
Once I worked out what went where, I got down to capturing it all. I shot the foreground by standing on the side of the road along the Foothills Parkway. From this point, as the crow flies, the fire tower is about a half mile away. Now, if you’ve been up there at night you’ll know that there are no lights shining on the fire tower. To accomplish this look, I had my buddy Ryan go up there (after dropping me off on the side of the road) with a flashlight, and light paint the structure. He had some handy radios that we used to communicate, so I could direct him on what needed more light, etc. Once that was done I started working on the sky. The sky portion of the image is actually 7.5 hours of total integration time, which means that I had my camera setup over two nights taking pictures for multiple hours at a time. I use a special tracking device that follows the sky as it moves from horizon to horizon, which allows me to shoot long exposures and the stars not blur or elongate. After I gathered what I thought (hoped) was enough data, I then used special software to add all the data together, and then I assemble the foreground and sky together as the final step. If that sounds like a lot, it is, but it’s what must be done since camera tech doesn’t exist yet to get it all in a single image.
Well as always I hope you enjoyed this series, and most importantly I hope you learned something! Next week we’ll venture back out into the sunlight, and a much warmer climate!
–Dan Thompson
