In my discussions about photographing the Milky Way and in conversations I see happening online, a common first question is “What lens should I use for Milky Way photography“. Much has been said on this topic (astrobackyard.com has a great discussion on the topic) from a technical point of view, meaning which lenses have the lowest distortion of stars (for things such as lens coma), the least barrel distortion, the least vignetting, etc, but what I want to talk about here are the artistic reasons you might choose one focal length over another, and give you some examples. Frankly, I think when most beginners are asking the above question, what they’re really wanting to know is “What focal length should I use to photograph the Milky Way“, rather than necessarily which lens, because they’re thinking of an end result – what lens will make my end result look “right”. They haven’t even gotten to “why do my stars look like airplanes” or “why are all my corners dark”, yet – but that of course will come.
Now, why would you choose one focal length over another when photographing the Milky Way? As we move from really wide focal lengths, say 14mm, to a much more narrow focal length, like 50mm, the core of the Milky Way will appear much larger in the sky, making your sky (in my opinion) more dramatic. There is some give and take though, because if you want to have room in your scene for a foreground object, as you get narrower and narrower with your focal length, you’ll have to give up parts of the sky to make it all fit. Some people may choose a really wide lens because they want to show a lot of the Milky Way but also want to show a lot of foreground. Conversely, you may want to frame one particular object in the foreground with a very specific part of the night sky. I’ve put in a lot of examples below so that you can see how the end result changes. Pay particular attention to how much of the sky you’re seeing at each focal length, and also how complex or basic your foreground needs to be to accommodate everything (don’t read basic as bad here, basic compositions can be very compelling when done right, and I would argue are easier to pull off than very complex foregrounds as the viewer has too much competing for their attention in the frame).
One more quick comment. As you look at the images below, try not to get hung up on the amount of detail in the sky, color in the sky, or other aesthetics like that. The images below span a good bit of time, and how I capture and process my images has changed quite a bit. The thing to pay attention to here is how much of the band of stars are visible, and how big of a scene it seems to be.
–Dan Thompson

The Milky Way at 14MM


14mm is where most people start when photographing the Milky Way. It gets you a lot of sky and plenty of room for foreground objects. In case you weren’t 100% sure, the Milky Way is the band of stars in the sky (okay, technically it’s the entire sky, because we can’t see past our galaxy standing here on earth with out telescopes, but you get the idea) and what people refer to as the core, is the larger, brighter section, right of center in this picture. The C shape, and then the long dark finger that extends out above the core in this image is known as the Dark Horse nebula. If you follow along the top half of the band to the left, you’ll then come to what appears to be a missing spot (I call this the blowout – I don’t know if it has a real name). Just left of that you’ll notice what looks like a dark hashmark, and then to the left of that another brighter area that almost looks smeared. As you scroll on down, pay particular attention to all those objects, and what starts disappearing as you get narrower and narrower.
The Milky Way at 16MM
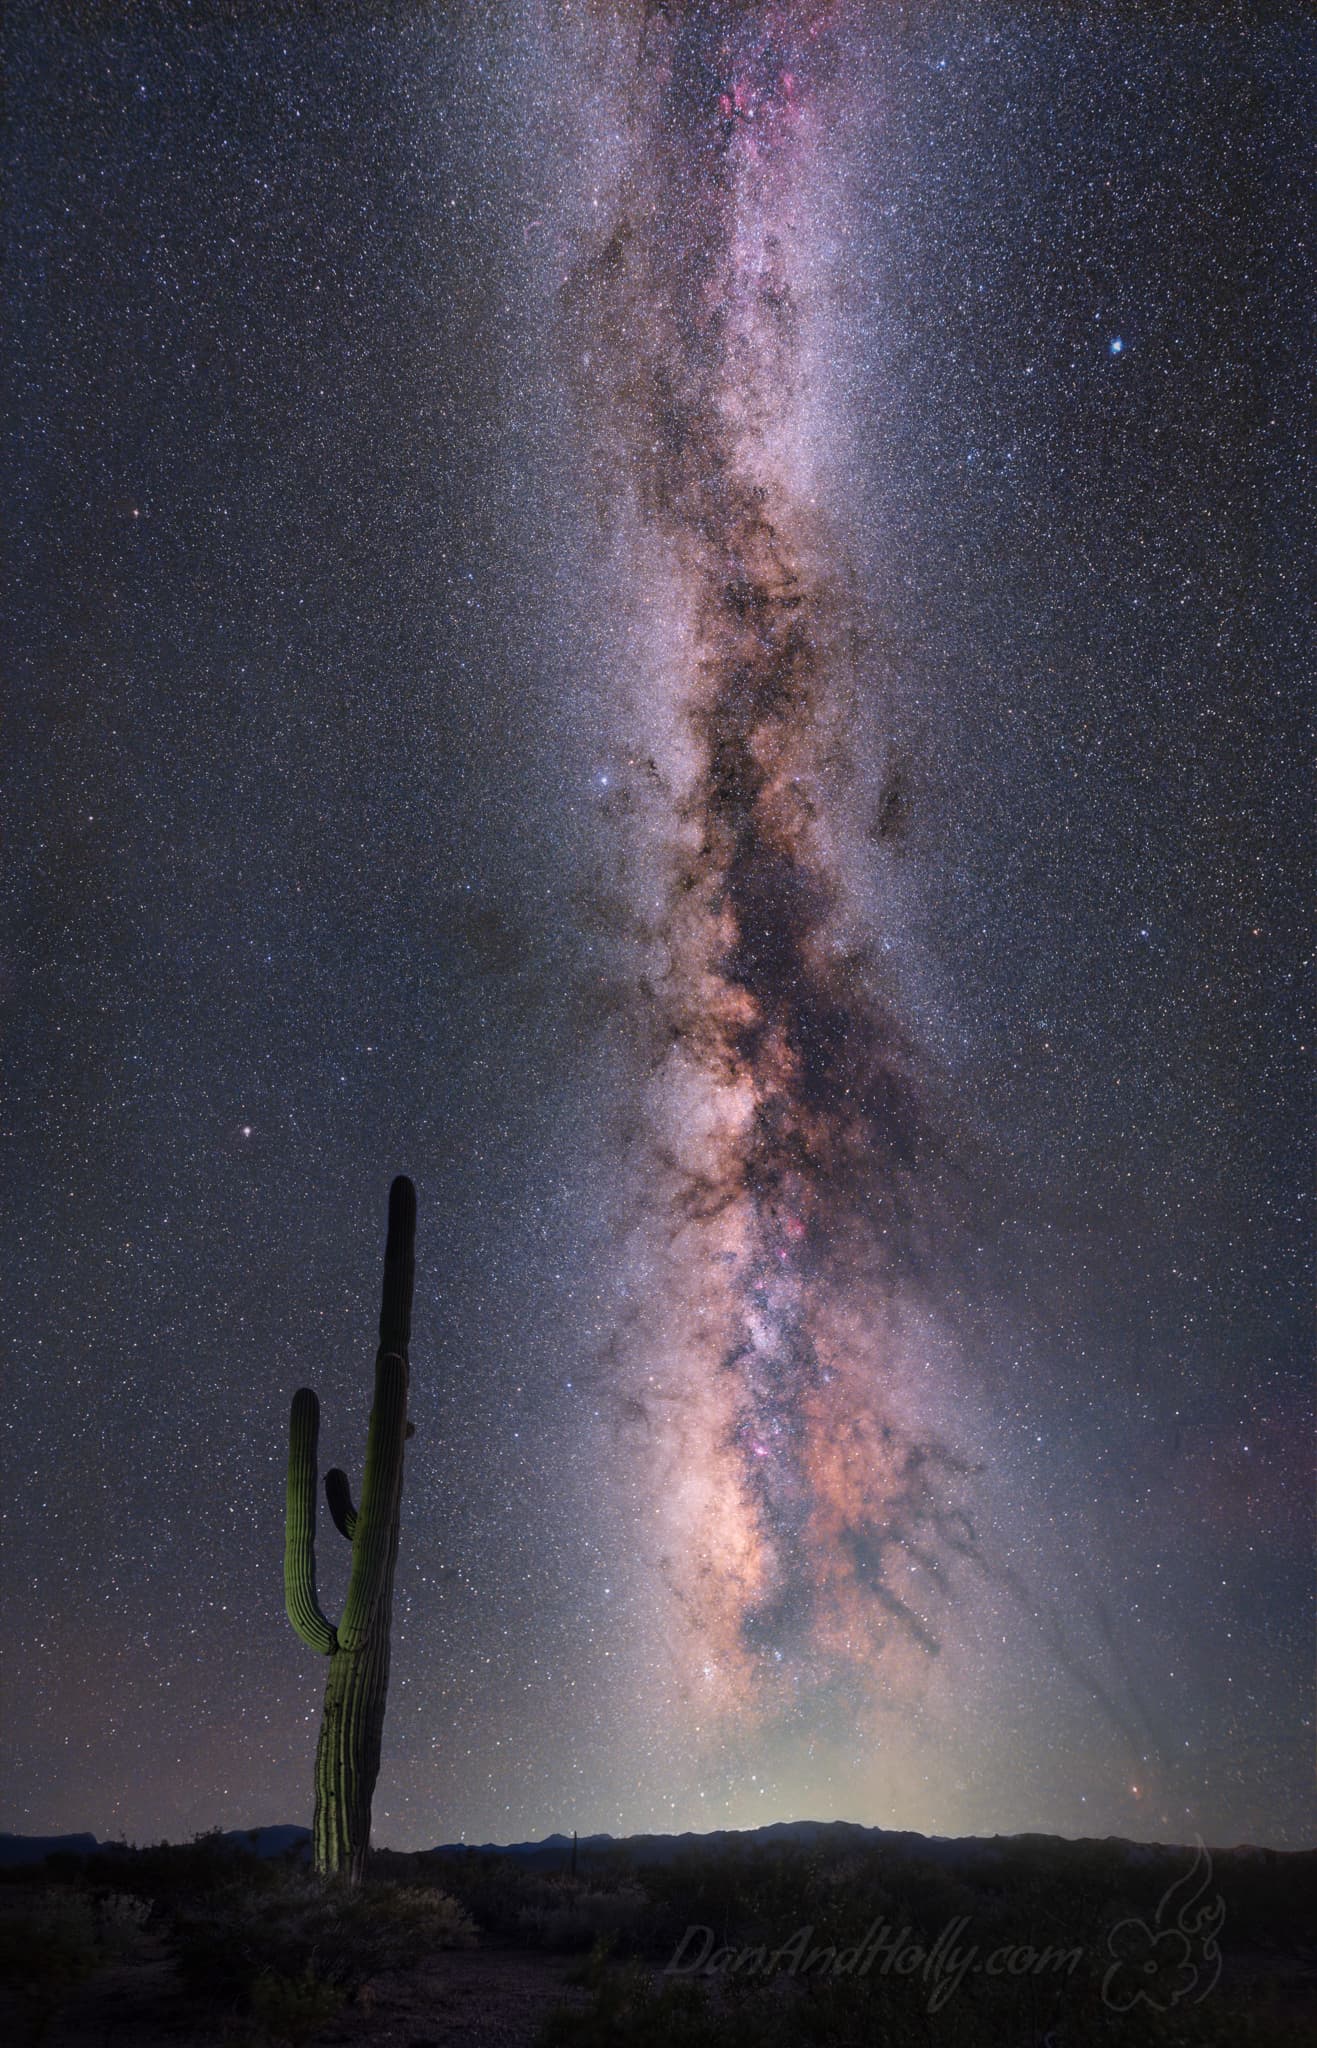

Alright now, you’re probably thinking, wait a minute… this is a narrower focal length but somehow I can see more of the Milky Way. Perhaps in that way this is a bad example but I want to bring this up here quickly. As the year progresses here in the Northern Hemisphere, the Milky Way core will set on the horizon, just like the sun sets in the evening. Note here that while you can see further up the band of the Milky Way, the Dark Horse is now almost touching the ground, so because of the time of year, we’ve traded what was the far right-hand side of the Milky Way in the image above (which was basically obscured by trees), for a little more at what is the top of this image, but ultimately you’re seeing slightly less of the overall body of the Milky Way.
The real point I want to make here is the use of vertical orientation in stead of horizontal. Again, here in the Northern Hemisphere, as the year progresses, the Milky Way goes from being strung out sideways across the sky, like in the image above this one, to being very vertical in the sky like this image here. Note how much blank sky there is in the image above this one, versus how the vertical orientation here eliminates a lot of that, but also limits what you can put in the foreground up close. This type of camera alignment can be leveraged for very tall foreground objects, like the cactus above, and to accentuate the vertical oriented band of the Milky Way that appears in our sky in the Northern Hemisphere in late summer, early fall.
The Milky Way at 18MM
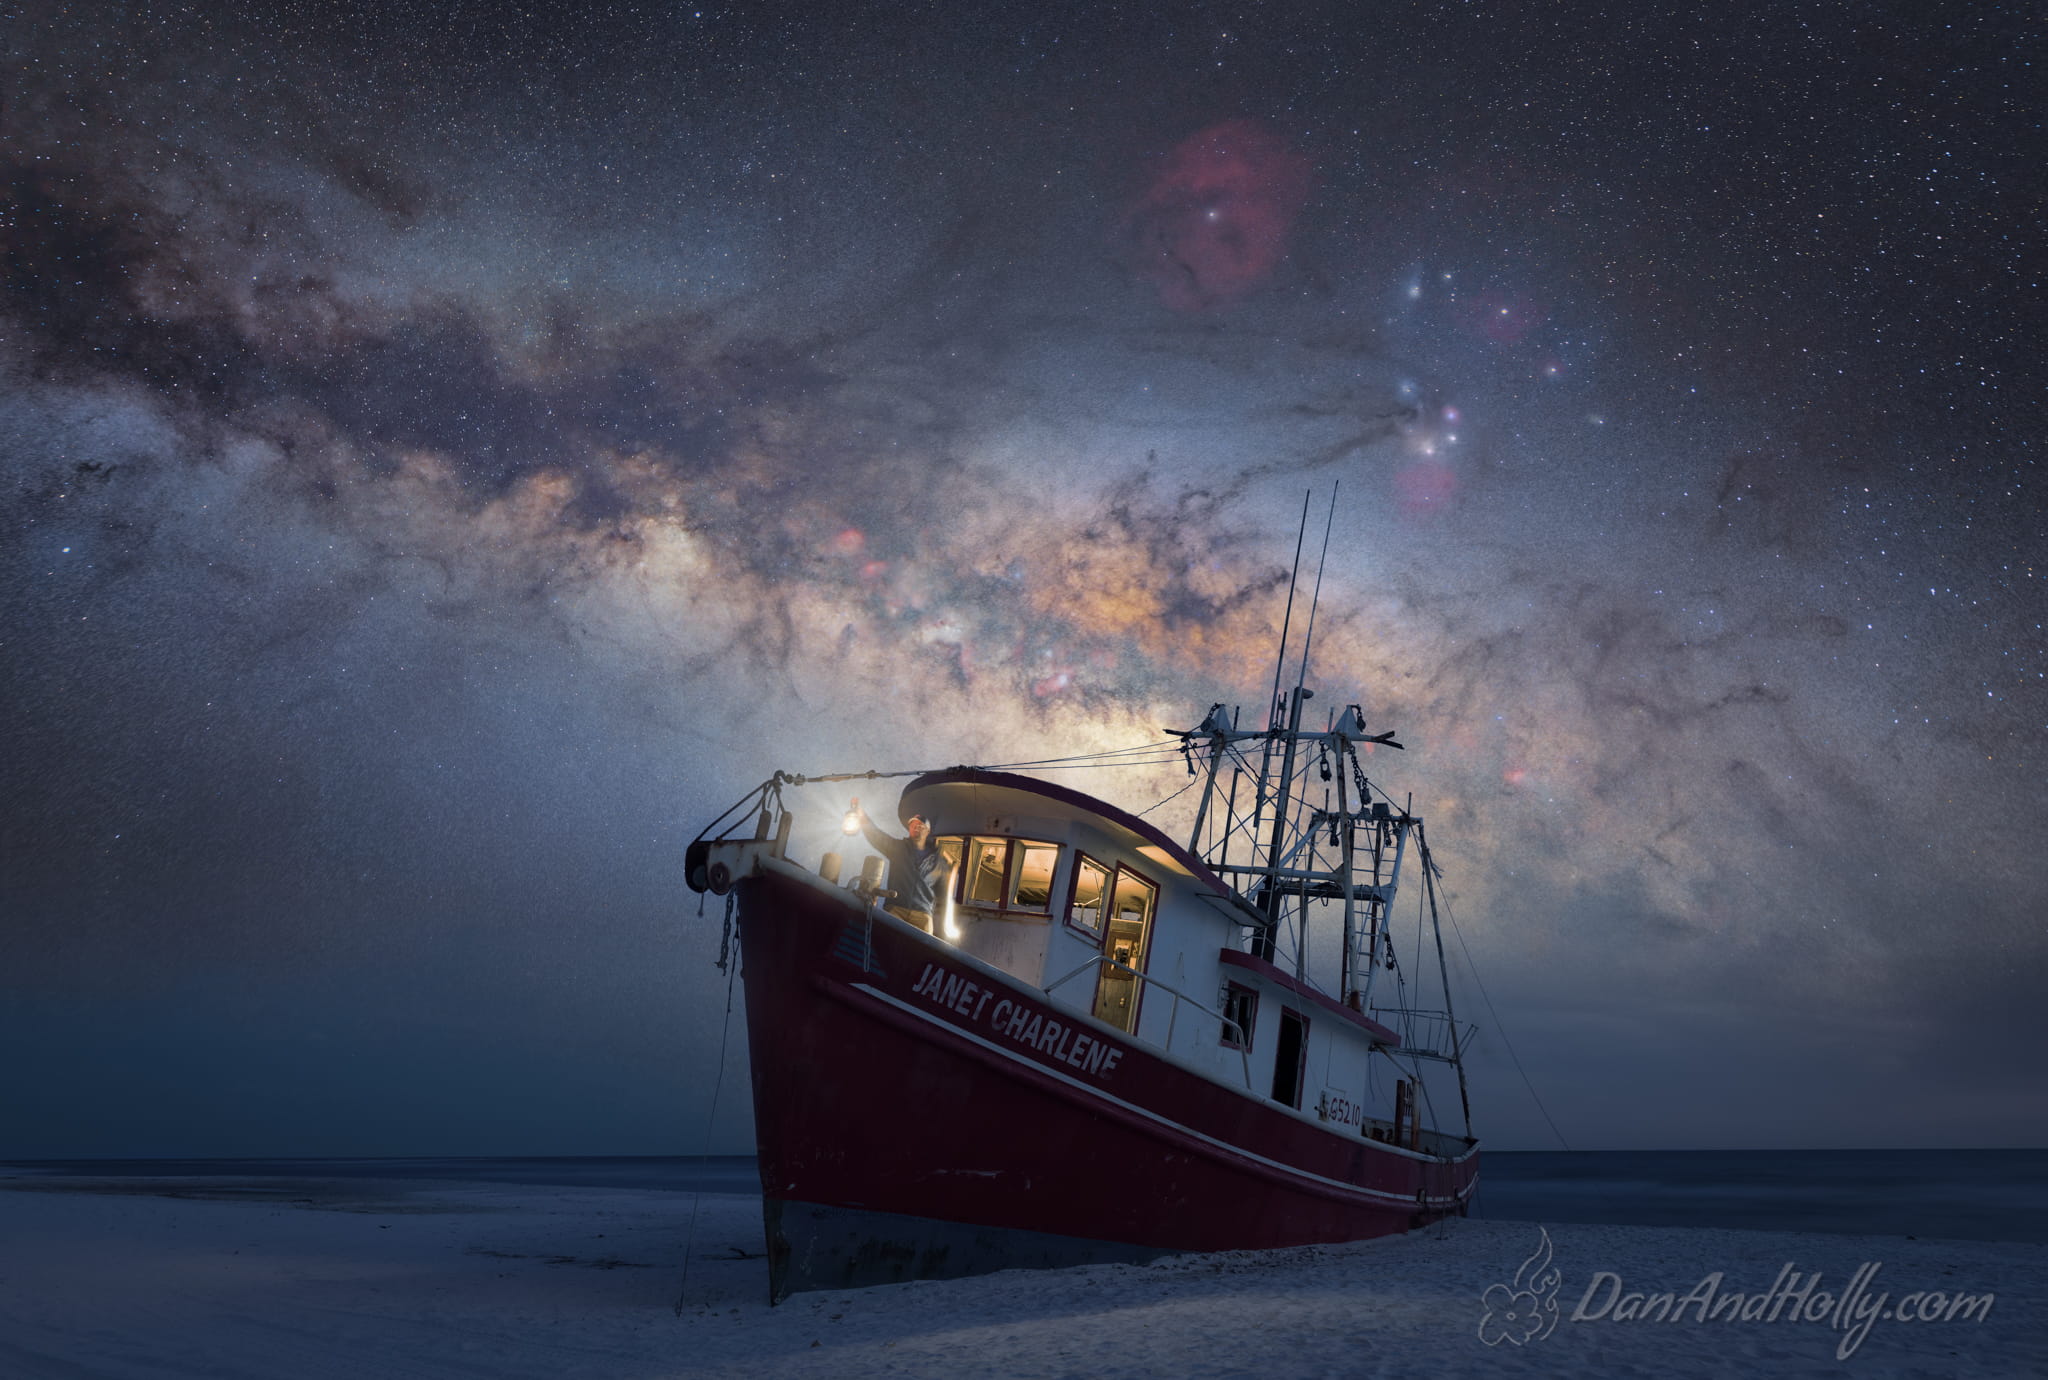

Okay, as above I’ve thrown you a little bit of a curveball. For this image I’m quite a bit further south than in the first image shot at 14mm, so you’re going to see a little more of the right-hand side of the Milky Way here than in that one, however see how that dark hashmark is now almost to the corner of the frame and that next bright area that looked smeared is now gone? You can really see what we’re giving up in the sky now. At 18mm, there’s still a lot you can do with the foreground, and you still get plenty of sky in there, but you’re losing parts of the band of the Milky Way, and you’re losing blank space around the body of the Milky Way.
The Milky Way at 22MM
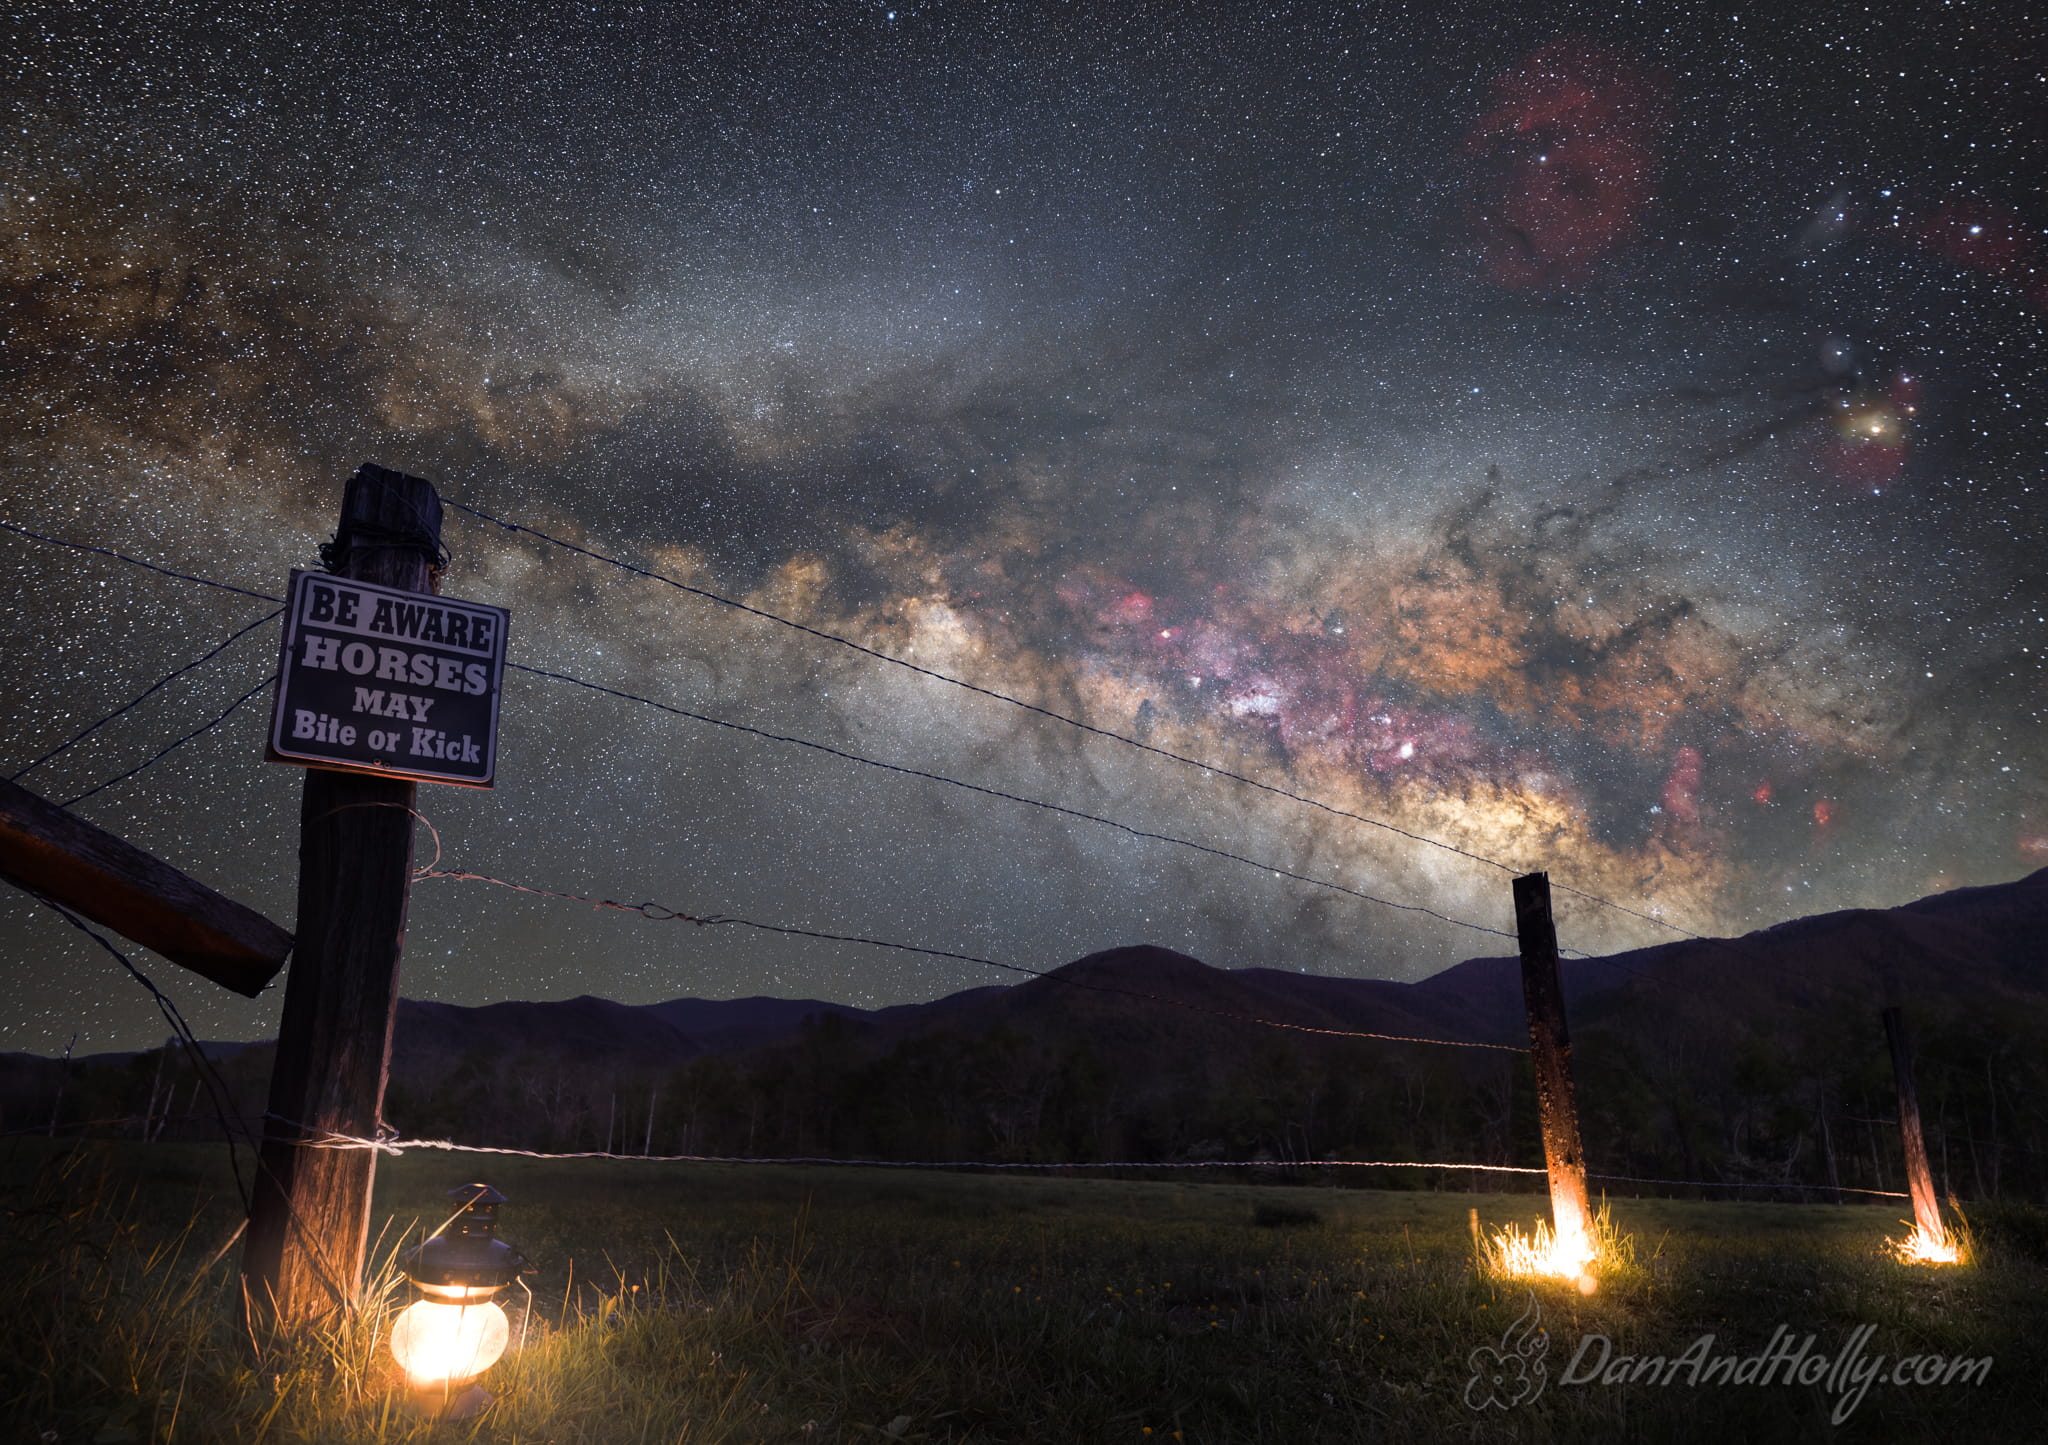

This image is now back to the same longitude of the original image, so you can see how the sky has shifted a bit. At 22mm and this particular longitude we’ve gained back just a bit of the band of the Milky Way to the left of the hashmark, but note that the section to the right of the Dark Horse is now all but completely gone.
The Milky Way at 24MM
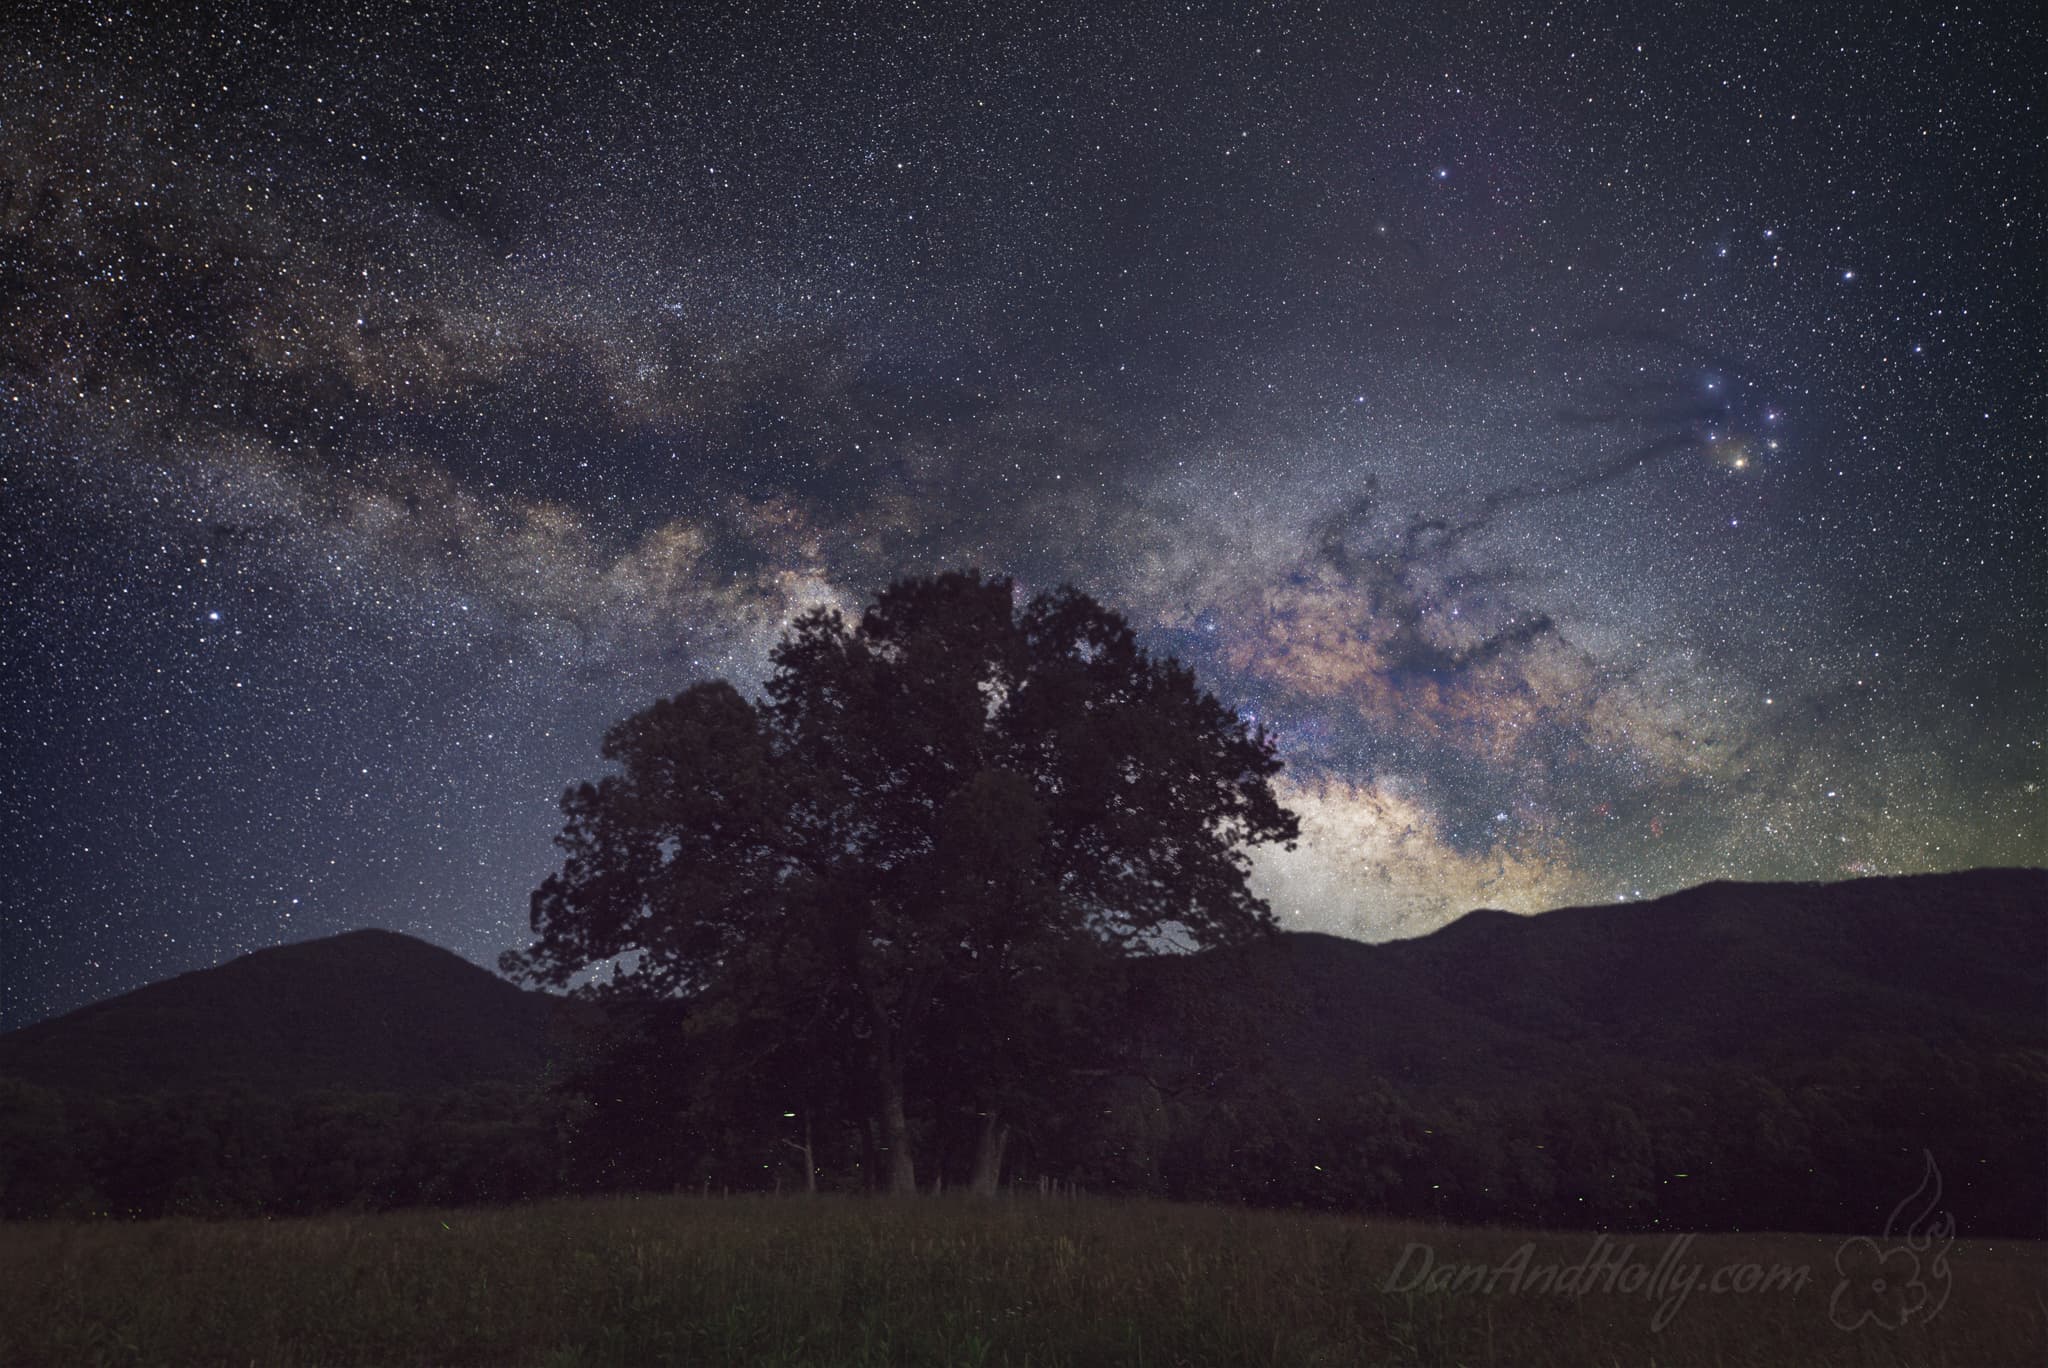
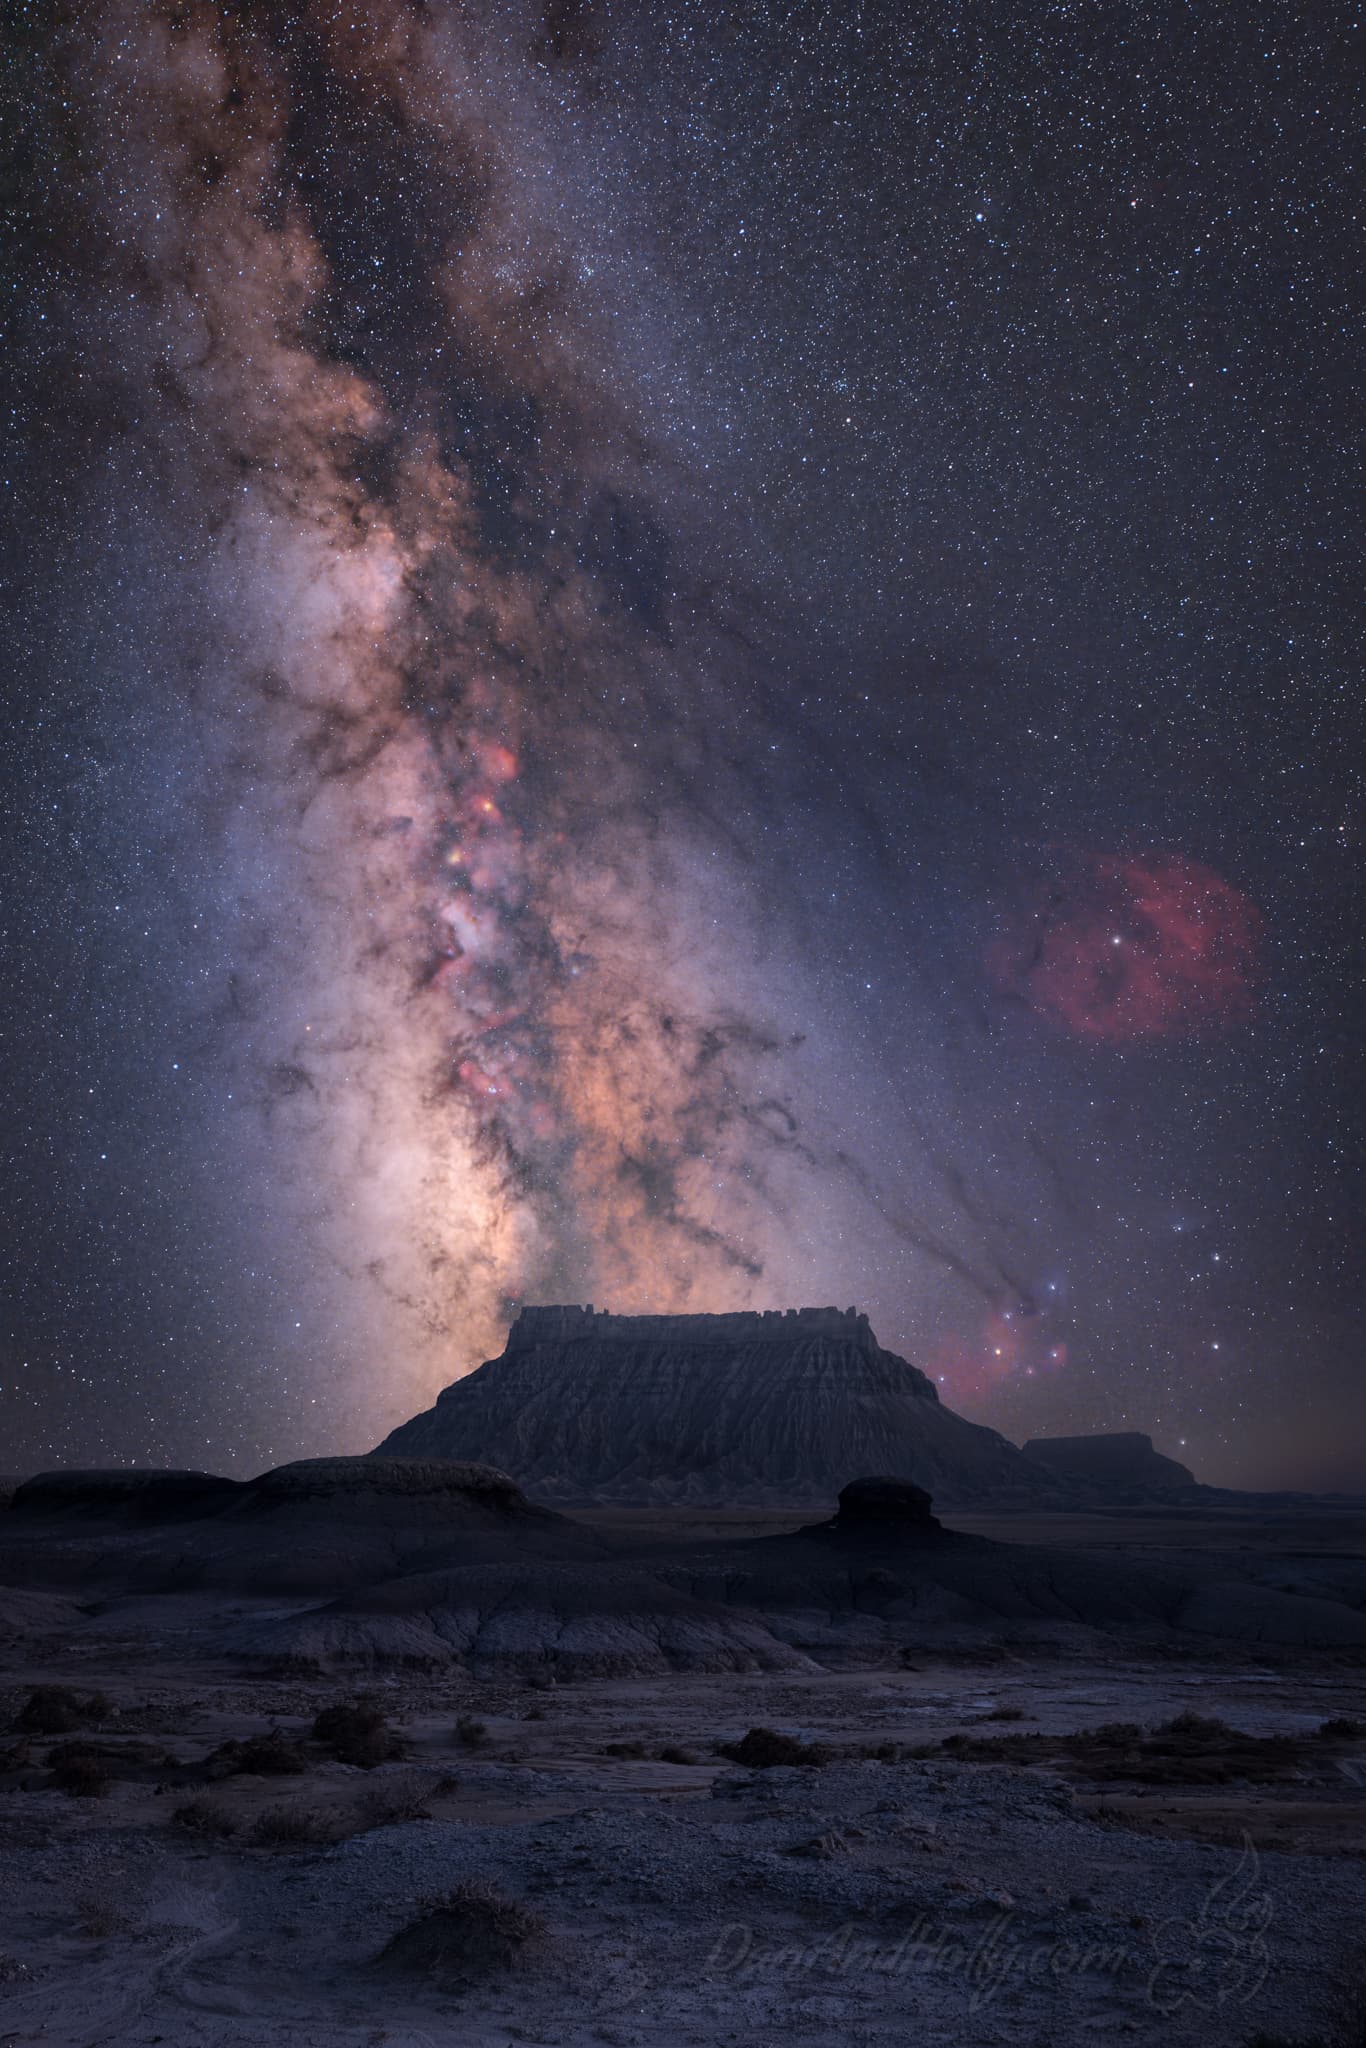


The horizontal 24mm image and the 22mm image were shot very close to one another as the crow flies (same mountains in the background essentially, just closer to them), which is to say it’s at the same longitude again. Note how the extra part of the Milky Way to the left of the dark hashmark is now gone, and the right-hand side of the Milky Way past the core is almost all but gone here as well.
I’ve included here also an example of a 24mm image in vertical orientation, for comparison. This is later in the Milky Way season also, though one month earlier than the cactus image above. In this image you can see that the hashmark is chopped off, but we could have seen a little more of the bottom of the Milky Way, had it not been for the very large butte in the foreground. In vertical orientation at 24mm, when the Milky Way is vertical in the sky, it all but fills up the frame.
To me, if you want to know what focal length is best for photographing the Milky Way, it’s somewhere between 18-24mm. The sky is nice and dramatic, but you’ve still got room to move around a bit with your foregrounds. That’s just my opinion, let’s keep going!
The Milky Way at 35MM
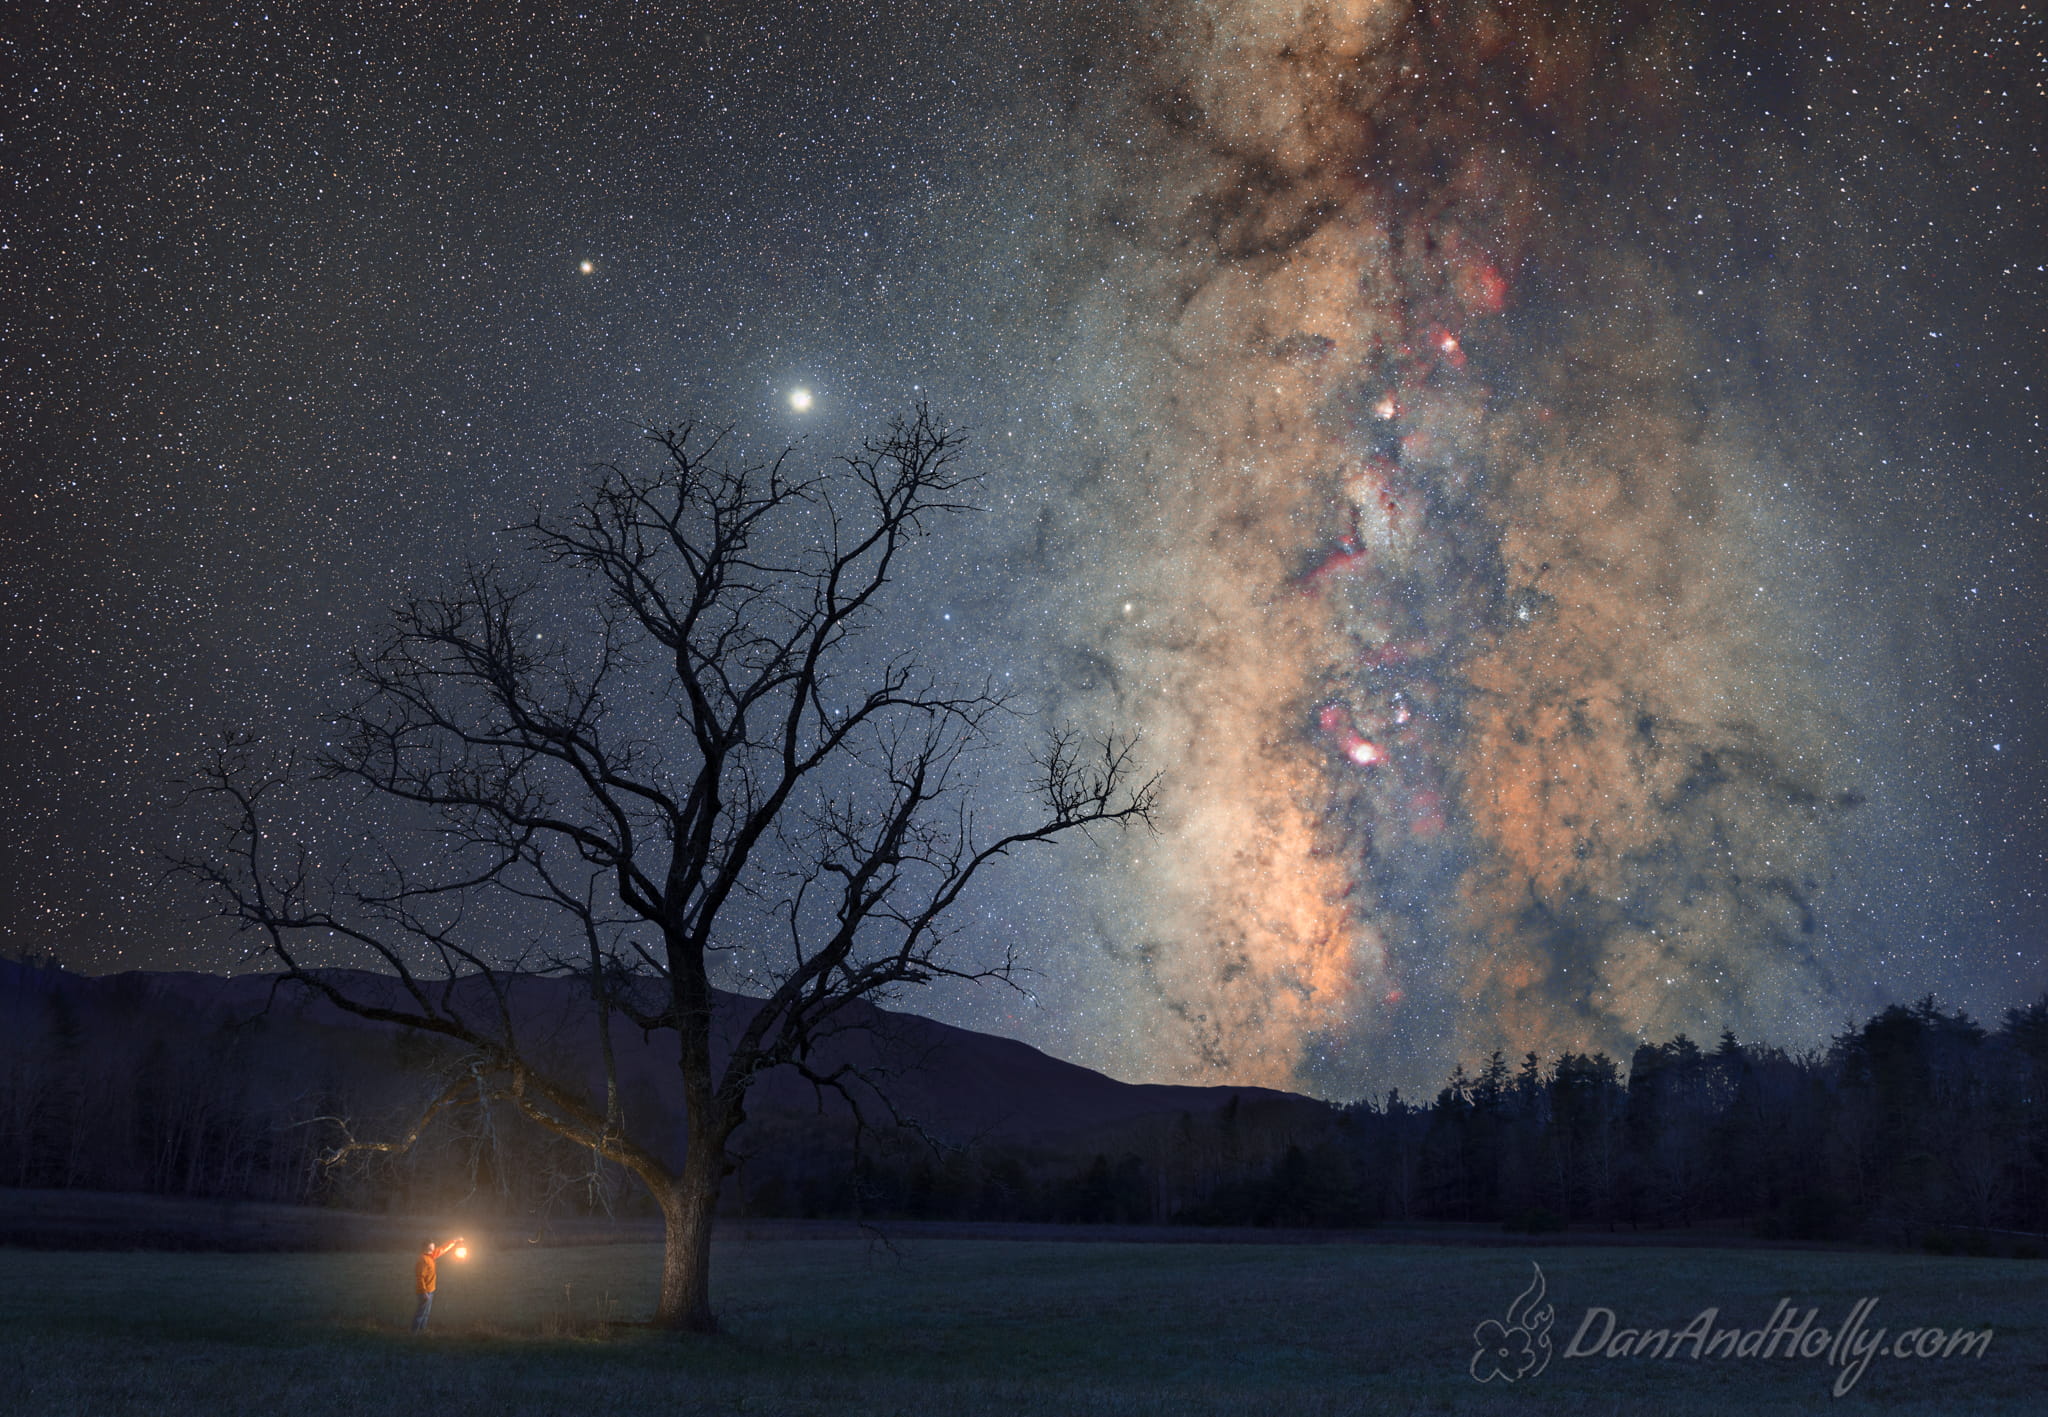

24mm to 35mm is a bigger jump than the previous ones, for no other reason than that’s just what I tried next. My intention is to fill in some more focal lengths as I continue to experiment, but for now that’s what we’ve got. This scene is in the early fall, and as you can see, the Milky Way is setting here. At 35mm, and with the Milky Way oriented vertically, while the camera is oriented horizontally, you can see that the core of the Milky Way is SUPER dramatic in the sky. To fit everything in I had to set the camera very low to the ground and get a good distance from the tree to make it the size I wanted in the frame. Because of these factors, you have to really start getting choosy with your subjects because you need space to pull it all off. I really like the end result here though!
The Milky Way at 40MM
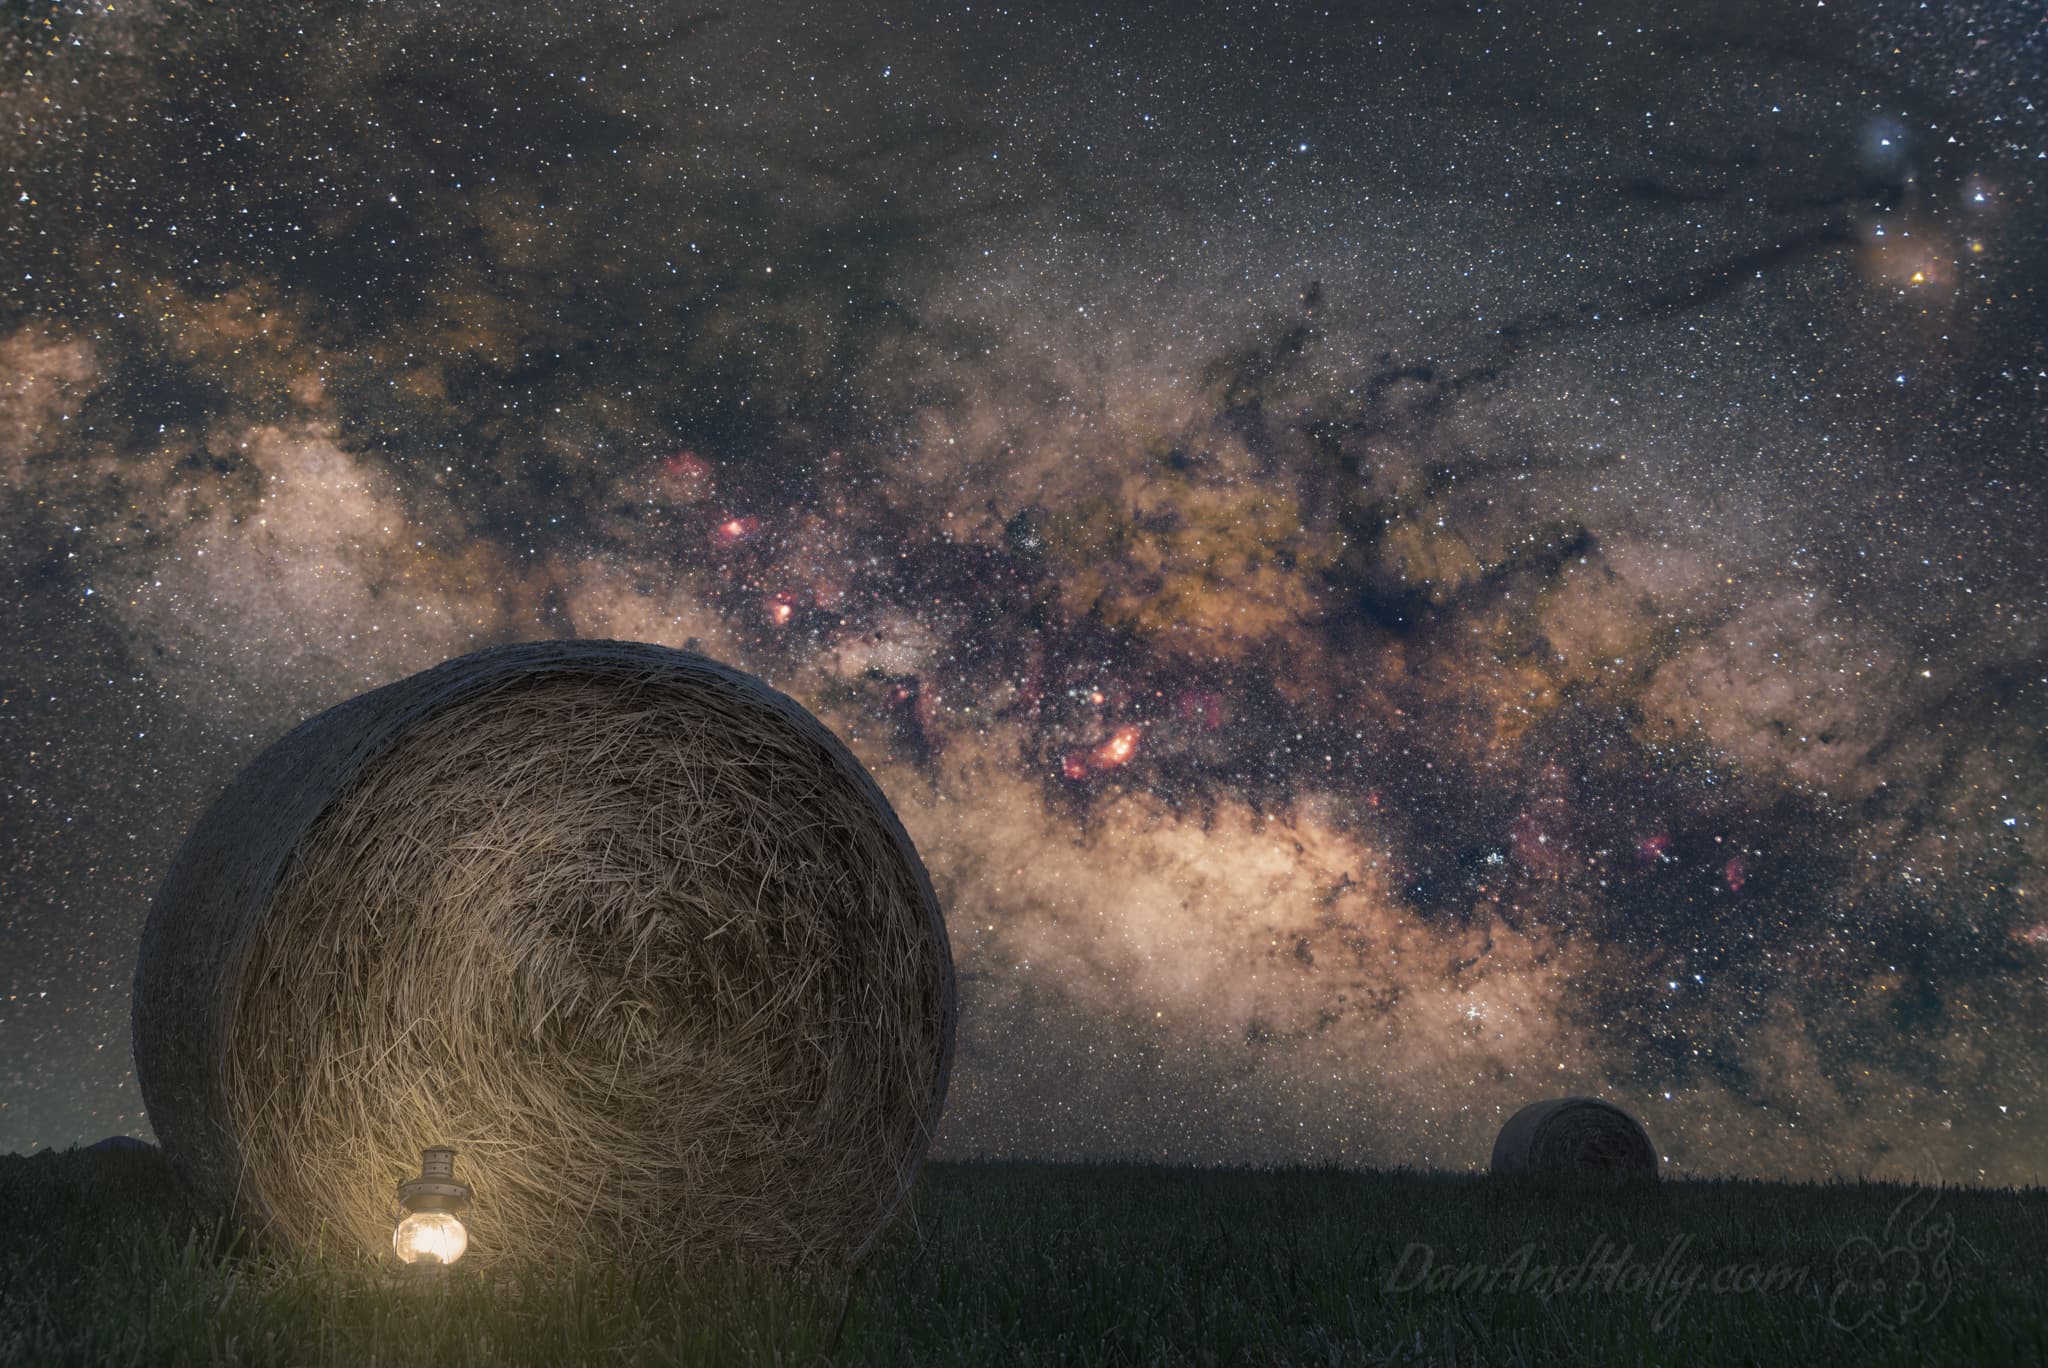

At 40mm, we’re really starting to have to sacrifice things in the sky or the foreground. As you can see, at 40mm, the body of the Milky Way takes up the entire frame, and you’re just barely fitting in the entirety of the Dark Horse nebula and the core of the Milky Way. This took very careful planning to pull off. To set this up, I had to find an object that was on a hill (the hay bale), so that I could get below it and aim the camera upwards, so the sky would actually line up behind my object. This particular field is rolling, which helped, but without the benefit of being able to physically move the bales, I still had to walk all over the field trying to find one that would line up just right. This image is also admittedly a compromise. I had a hard time finding a subject that would work at all, beyond just the mountain tops (see the next two scenes), so it was particularly challenging. If you live in an area with a lot of open, flat spaces, perhaps it would be easier, but here in the foothills of the Smokies, it was tough.
The Milky Way at 50MM
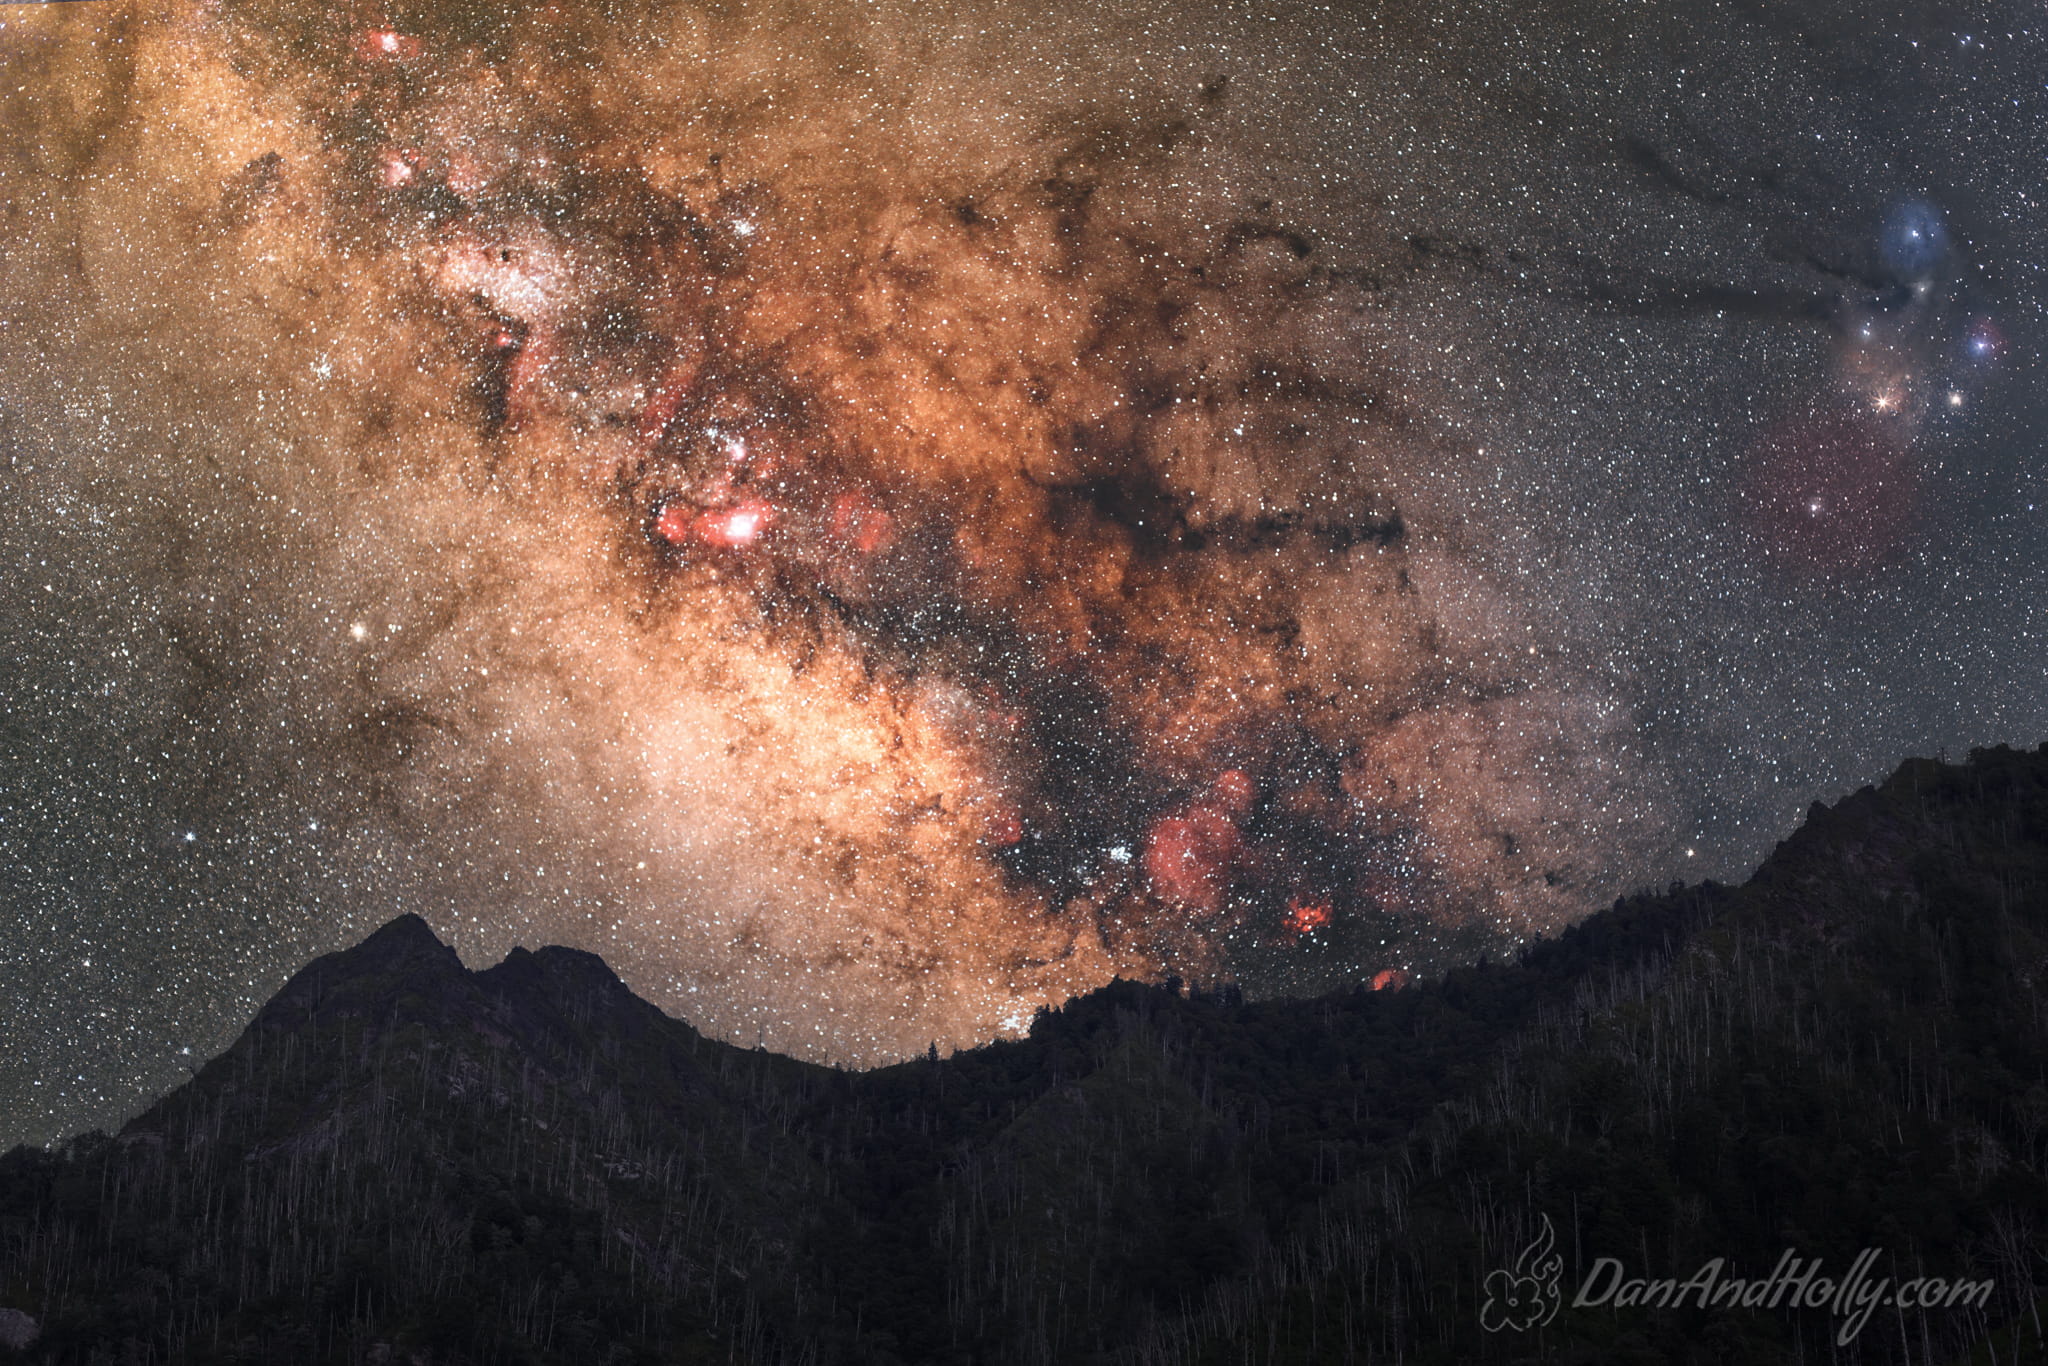

Alright, at 50mm we’ve definitely had to make some compromises. Just the core of the Milky Way along with the Dark Horse nebula will fill up the frame at 50mm in certain orientations and so you just have to accept that something is going to be getting covered up. In this particular location it actually all just barely fits, the but composition is extremely basic. The peaks featured here are famous in this part of the State, so to me it was interesting, but perhaps to someone not familiar with the area it would be less so. Here again, if you live in an area were you’ve got lots of large, flat open spaces, perhaps this would be easier to pull off, but here it took a lot of planning and searching.
The Milky Way at 100MM
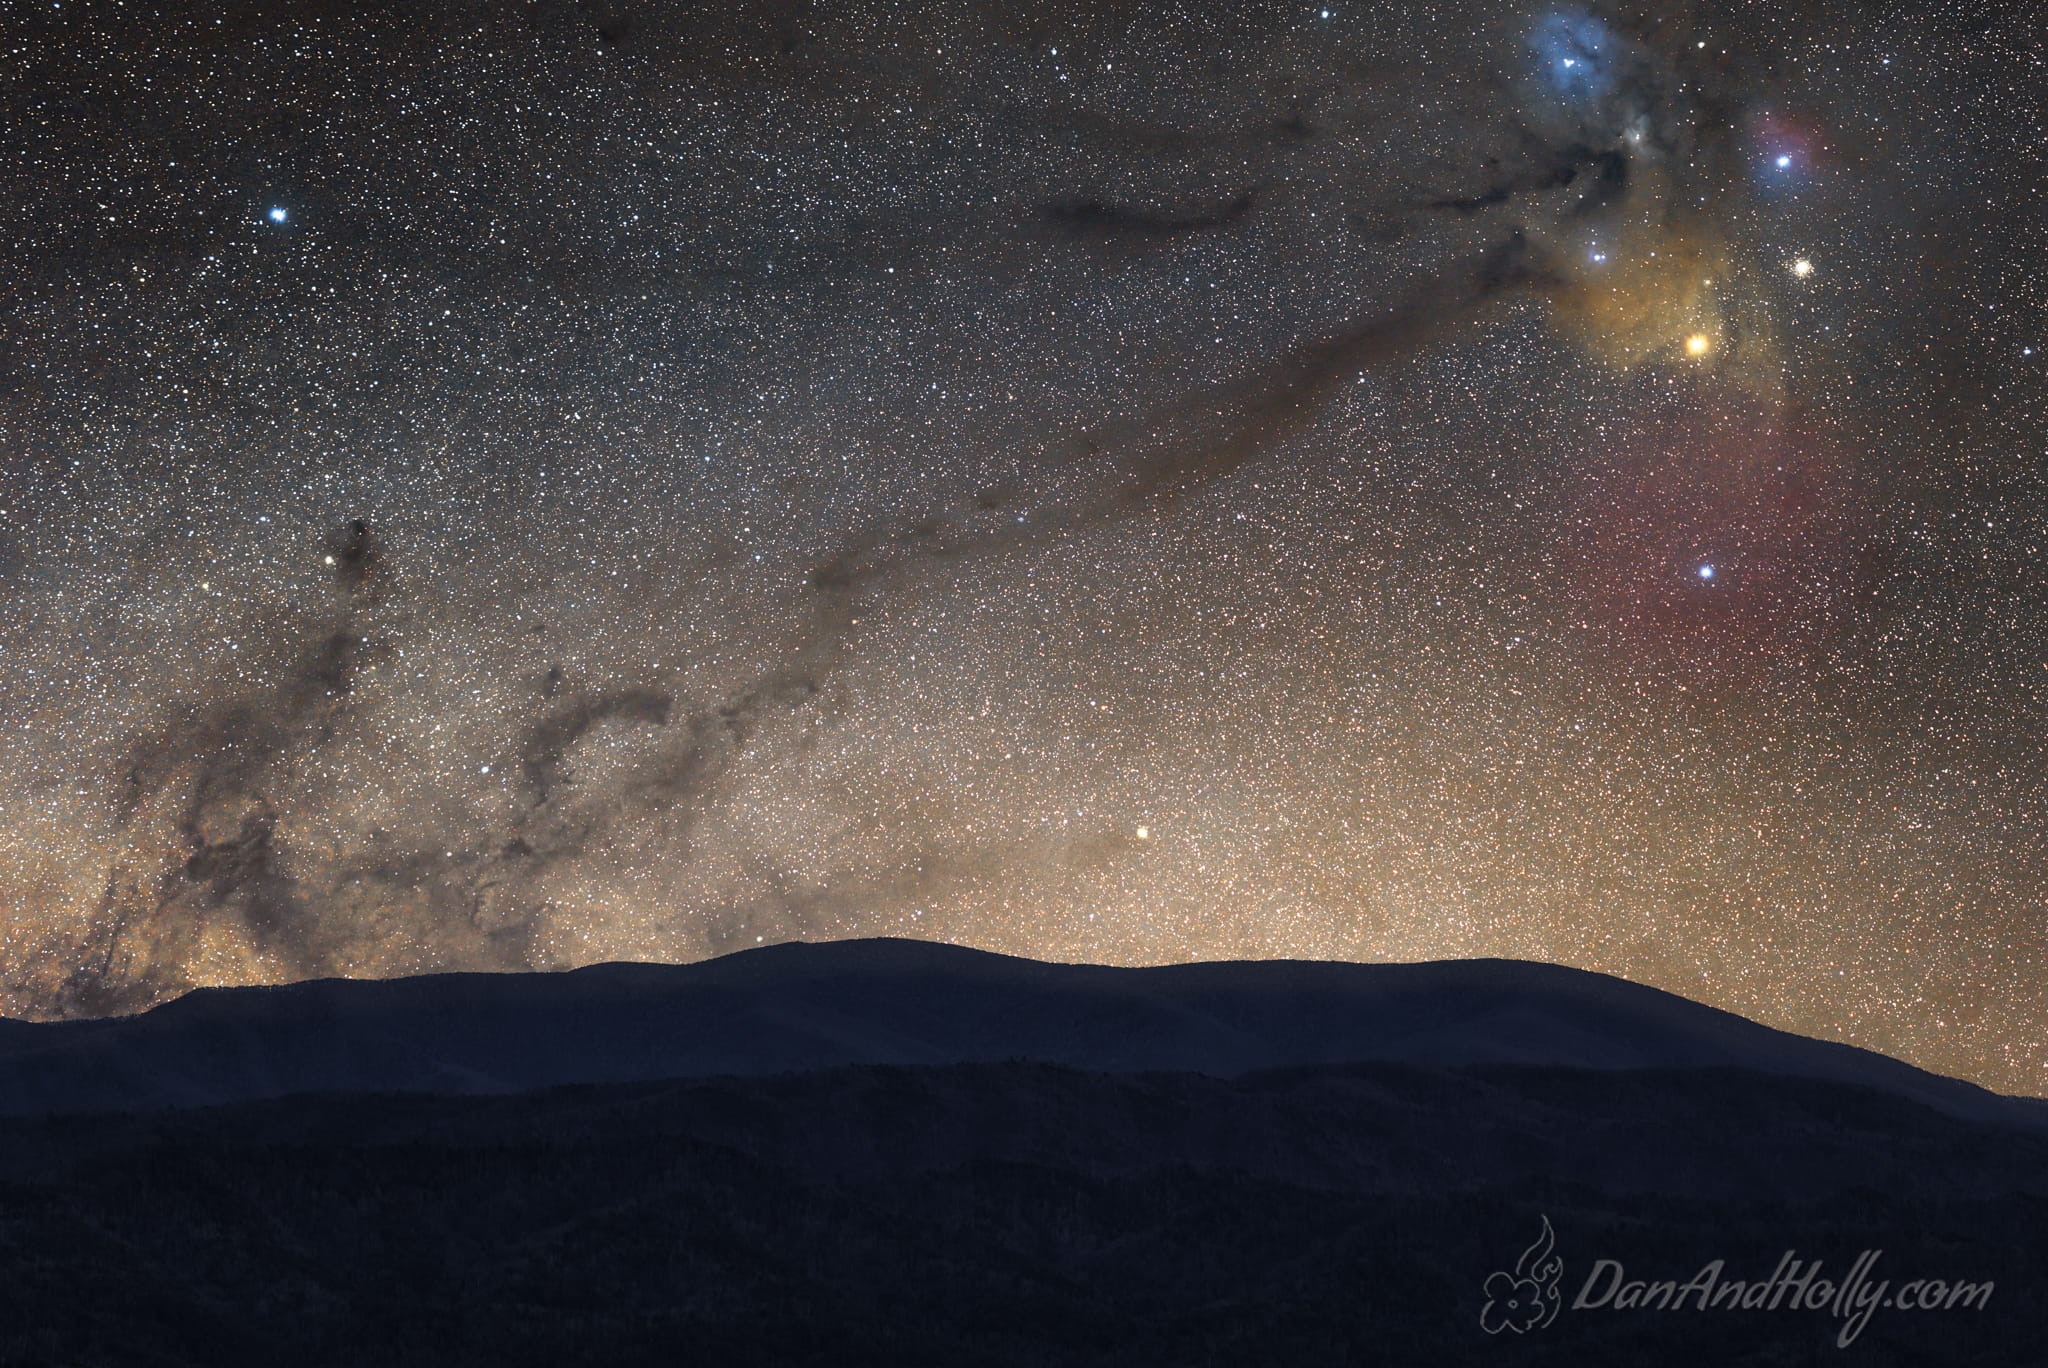

100mm was truly just an exercise in “can I even do this?”. As you can see, at this focal length you’ve given up a lot. What you’re seeing here is just Rho Ophiuchi (all those colorful stars) and then just the long finger of the Dark Horse nebula, and part of its head. This was shot from an overlook, across a valley at the mountain range, so again, we really need distances of good scale to pull something like this off. I would suggest that your nightscape images are always “about the sky” (at least for me anyway), and as you increase in focal length, the images just get more “about the sky”. There is nothing particularly interesting about those mountains, but in the end, the image illustrates that the stars are rising behind the mountains.
The Milky Way at 200MM
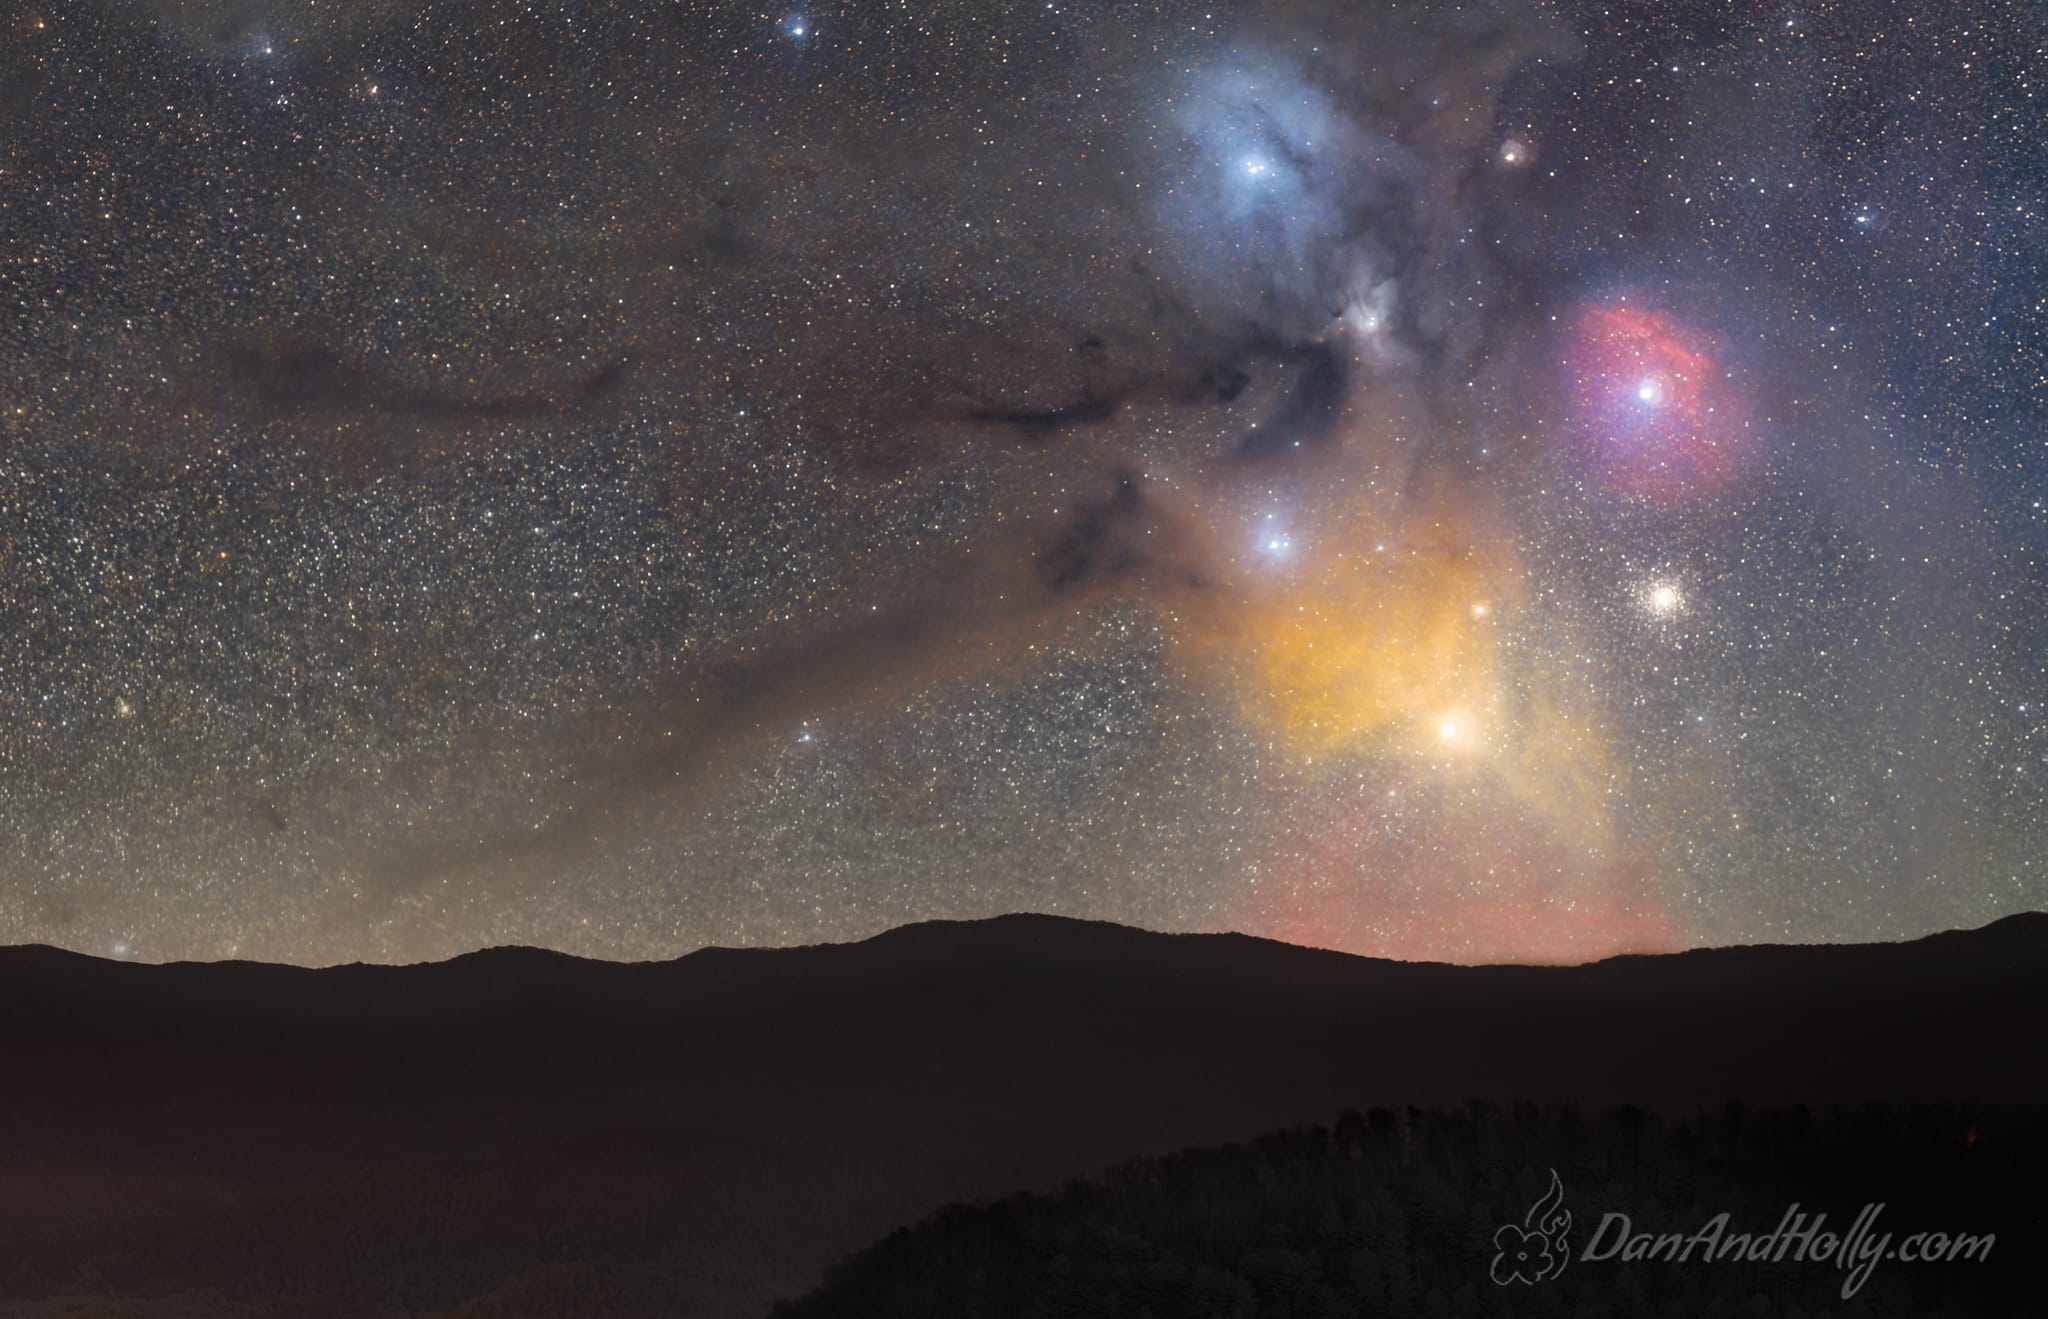

Very similar to the 100mm shot, 200mm is again an exercise in “can I even do this?”. At this focal length you can really only fit in Rho Ophiuchi and some of the dust lanes that reach back to the Dark Horse nebula but even that won’t fit in the frame at this focal length. Same as the 100mm, this was shot from an overlook, across a valley at the mountain range, owing to the fact that you need large distances to pull this focal length off.
The Milky Way at 300MM
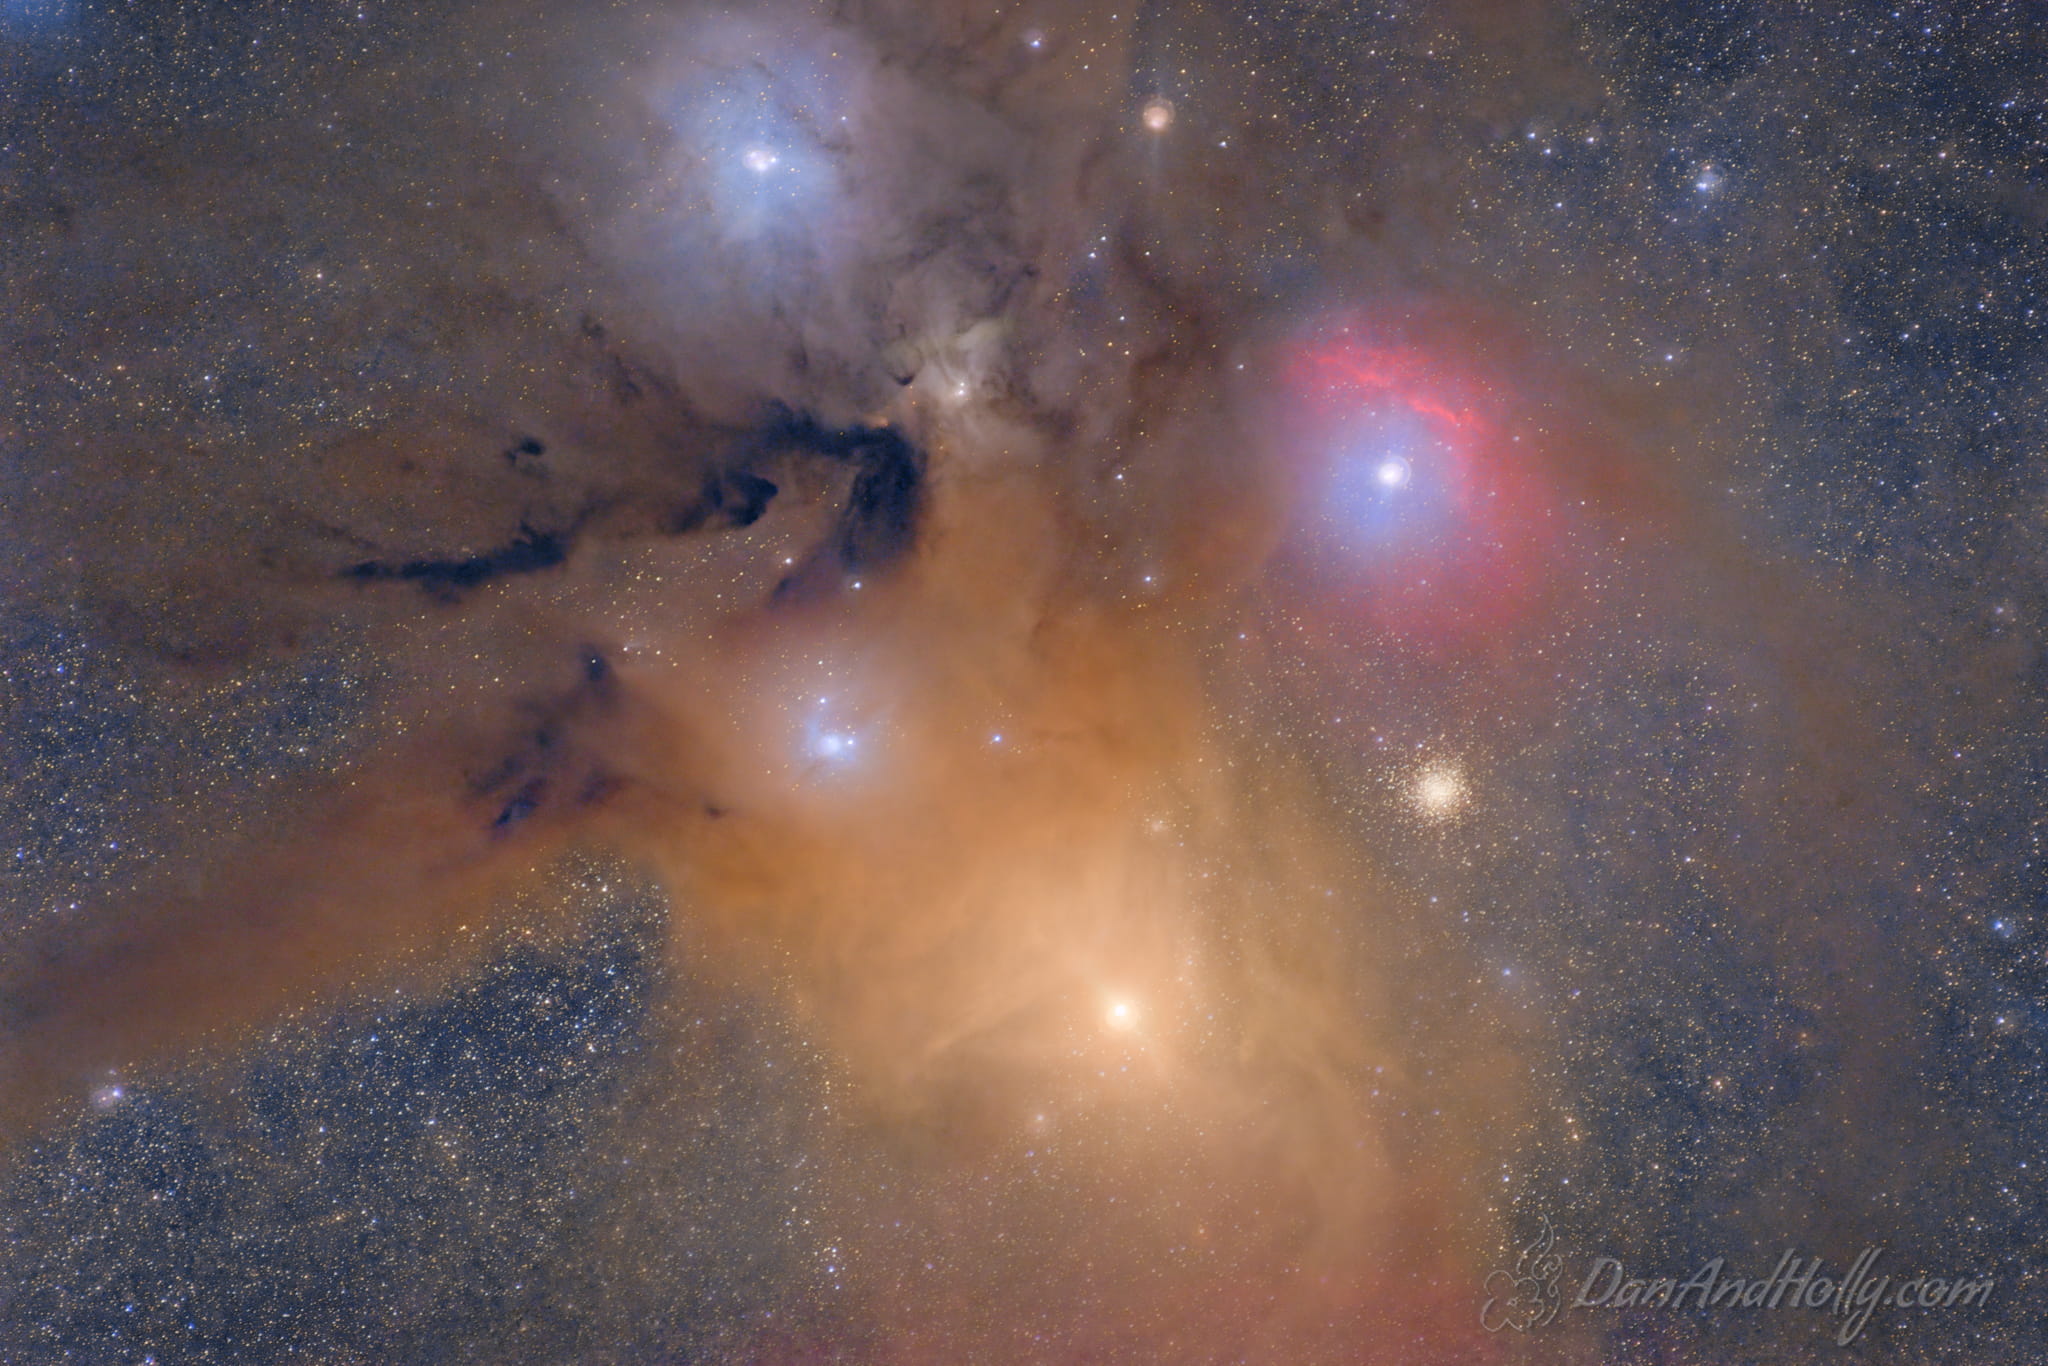

At 300mm I finally gave up on trying to work in a foreground, and just enjoyed the sky by itself. Where Rho Ophiuchus rises from any vantage point I could find, the mountains start looking fairly flat across the top, which would make the foreground uninteresting altogether I think. The object is so large at 300mm also that you’d be giving up something to fit a foreground in the scene at all.
Conclusions
As you can see, when choosing the best lens to photograph the Milky Way, there are quite a few things to consider, simply from an artistic point of view. The focal length you choose can drastically change how much of the Milky Way is occupied by the sky portion of your image, and also will start to dictate what types of subjects you can use for your foregrounds. This all assumes, of course, that you even want a foreground! It is a perfectly legitimate thing to simply take pictures of the night sky with no foreground, but in any case, by using the images above as a guide, you’ll get a sense for how much of the frame you’ll be filling up with the band of the Milky Way.

Thank you for all the instruction and resources! No one is better at photographing the Milky Way than you.
Haha thanks for the kind words as always Laurie!
Excellent review. Well thought out and great examples. Thanks.
Thank you Rick!
Well done! I really appreciate the shots taken at what appears to be cades cove and the chimneys. I am from the Gatlinburg area so 100% of my MW images are with mountains as the foreground. I especially like the panorama over the chimneys. Definitely more of a challenge than costal and desert locations. I have used all of the focal lengths that are presented here, with similar results, except I lose details with 40 &50mm. Thus I was interested in knowing if you also used a tracker, especially with the 40 and 50mm. I just purchased a sky adventure pro for the 2022 mw season.
Thanks again for the information and perspective.
Hi Theresa, thanks for stopping by! Yes, all the images are tracked (and stacked).